How to Trim Cat Nails at Home: Vet-Approved Steps, Tips, & Advice


Grooming your cat is an important part of being a responsible pet owner, and nail trimming is a step that should not be avoided. Still, trimming your cat’s nails can be daunting for finicky or skittish cats, especially if you have no prior experience. The best way to make the experience as stress-free as possible is to go in with a plan.
In this article, we’ll look at the seven steps you need to follow to trim your cat’s nails at home. While following these steps, if you are ever concerned for your cat’s well-being or overwhelmed by the task, do not hesitate to take a break or consult a professional groomer for assistance.

Gather Your Supplies
Before trimming your cat’s nails, you must have the correct supplies. You should never use human or canine nail clippers on your cat. Clippers not designed for your cat’s nails may make the process more difficult and cause injuries.
Trimmers
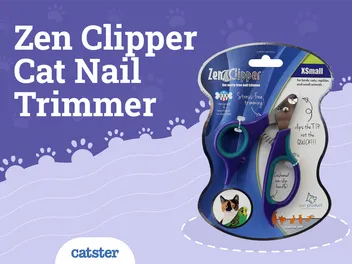
First, you will need to pick out your feline nail trimmers. There are various types of trimmers to choose from, and you will want to consider the pros and cons of each one to make an informed choice. The first option is a scissor-style clipper. They appear like scissors with curved blades to fit around your cat’s nails.
If your cat has particularly sturdy nails, you may want plier-style clippers. They have a little extra power behind them to cut through tough nails, but that also means you must be extra careful of where you are cutting.
Another option is the guillotine-style clippers. The blade on the clipper will stay sharper for longer, but it can be a bit more difficult for novices to use. To use them, you will need to fit your cat’s nail through a small hole where the blade will cut across. It’s like threading a needle but with a squirmy cat instead.

- Complete Set - These cat nail clippers include both a large and small pair, meaning it works well as a kitten claw trimmer when they're a small kitty, and then before you know it, as a cat nail cutter
- Razor Sharp Stainless Steel - The most comfortable cat nail clippers for indoor cats provide a fast and clean cut. And for rough residuals remaining, the free cat nail file included can smooth it all.
- Safety First - With a safety nail guard and locking spring, you can make sure every grooming cut is stress free for you, and pain free for your purry pal
Trimming your cat's nails at home can be hard, but having a professional do it can be expensive. With the help of great tools like Hepper's Cat Nail Clipper Set, you can easily and quickly trim your cat's nails at home. This set includes two pairs of stainless steel clippers with safety guards and locking mechanisms, plus a built-in nail file and a convenient pouch.
At Catster, we’ve admired Hepper for many years and decided to take a controlling ownership interest so that we could benefit from the outstanding designs of this cool cat company!
Support Items
Speaking of squirmy cats, you may find it helpful to have a towel, a blanket, or a second person nearby as a helper. Wrapping your cat in a towel or blanket can keep your furry friend still while you trim their nails. If you have a helper, they’ll be able to hold the cat while you trim the nails, which will make the process much easier.
Treats will also be essential to this process. To keep your cat appeased and patient, you will want to feed them a treat after every nail or so. If you accidentally cut the quick of your cat’s claw, you’ll need styptic powder on hand to reduce the bleeding and minimize pain.

How to Trim Cat Nails at Home in 7 Steps
Once you’ve gathered your supplies, you can begin trimming your cat’s nails. Throughout this process, take breaks if you feel that your cat is growing agitated, and don’t be afraid to call on an experienced pet parent for help if you are overwhelmed. By following these steps, you can make nail trimming as quick and easy as possible.
1. Find a Calm, Quiet Spot
If you’re in a household with several people or pets, you won’t want to trim your cat’s nails in the middle of the chaos. To make the experience as stress-free as possible for you and your cat, go into an isolated part of the home and close the door.
If your cat is in a high-strung emotional state, soothe them. Take the time to calm them down from their excitement and settle them into a relaxed state before you begin.
2. Get Your Cat into a Comfortable Position
Once your cat is calm, it is time to get them into position for nail trimming. Experience will tell you which position is best for you and your cat, as some cats may find one position stressful, while others may prefer it. Some ideas include sitting with your cat across your lap or laying back on your chest.
If your cat doesn’t seem satisfied with any position, this is where the towel or blanket and a helper will come in handy. You can wrap your cat up like a burrito and keep one paw sticking out to trim. The more you trim your cat’s nails, the better you will understand their preferences and what position will help them feel most at ease.

3. Find the Nail and the Quick
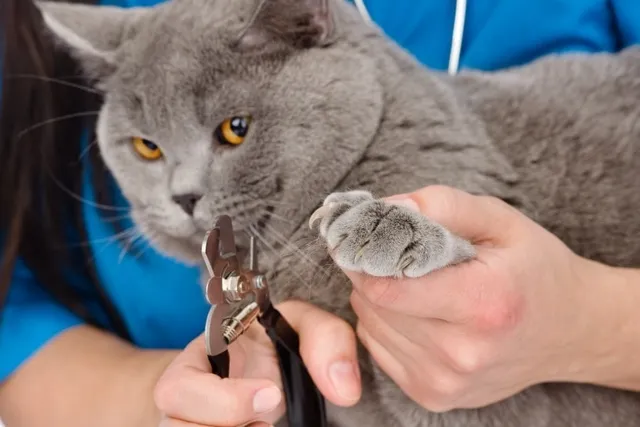
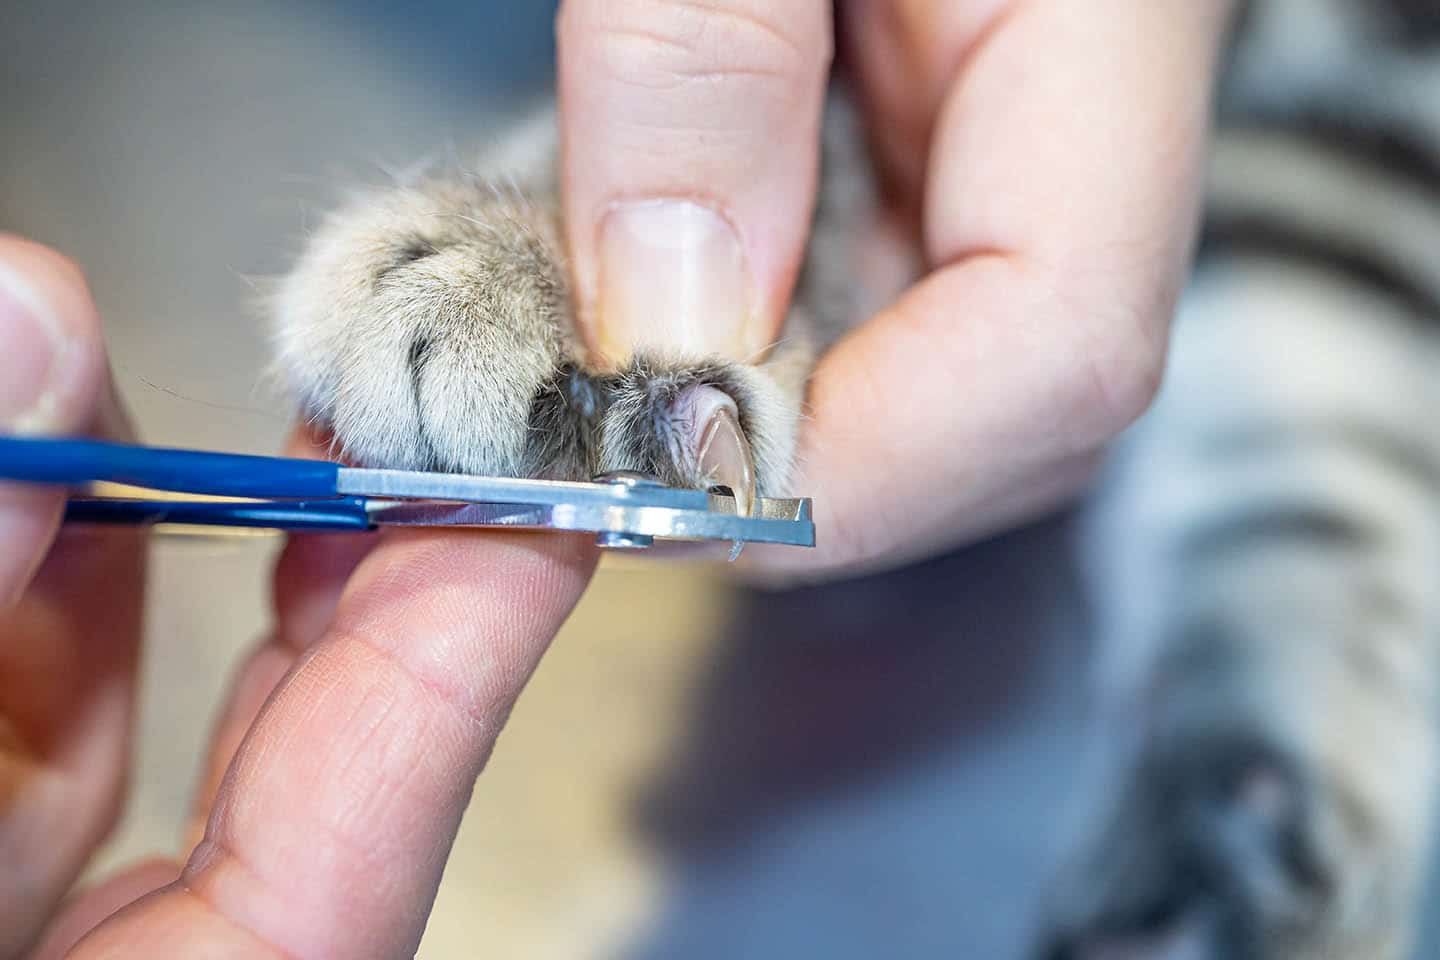
Gently take ahold of your cat’s paw and pick any nail to start with. With your forefinger on your cat’s paw pad and your thumb on the top of their toe, apply gentle pressure to expose the nail. Observe where the quick is, which will be the pink part of the nail rather than the white portion. The quick should be avoided since it is the vein in your cat’s nail.
4. Cut at the Correct Angle
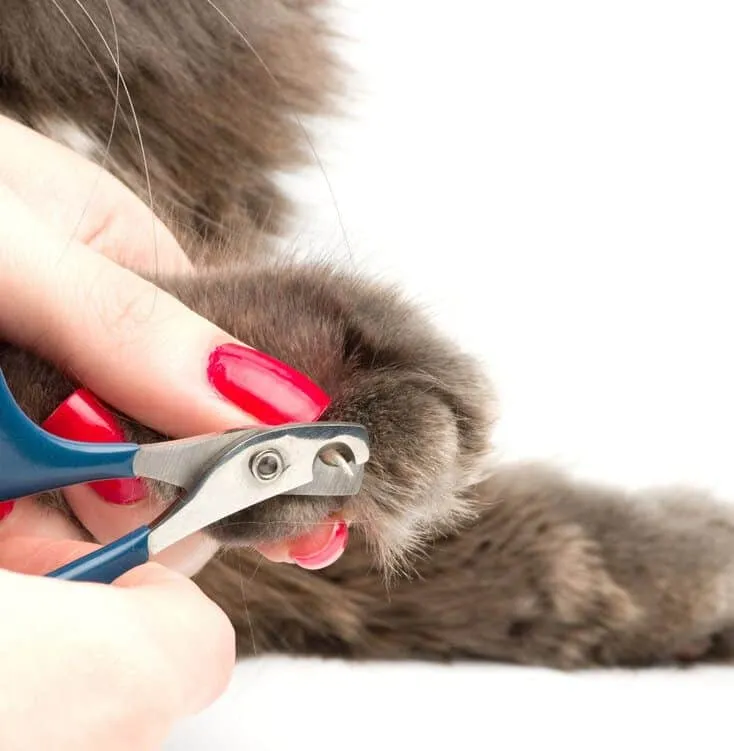
Once you’ve identified the nail and the quick, it is time to cut. Cut at a slight angle rather than straight across, which will help the nail rest more naturally on the ground as your cat walks.
Although your instinct may be to be cautious and tentative during the process, you must cut decisively and firmly. If you are too slow in cutting the nail, you may crush it rather than cut it cleanly.

Related Read: How to Use Cat Nail Clippers — 4 Simple Steps
5. Trim Little by Little
Rather than cutting the whole nail in one go, trim little by little. This will help you to ensure that you avoid accidentally cutting the quick. It will also help you monitor your cat’s reaction. If your cat appears agitated and growls or hisses, it is time to take a break.
6. Repeat for Each Nail
Repeat this process for each nail. If the cat has remained calm, it is a good idea to give your cat treats after every nail. You might even want to consider ending the session on a positive note and trying another nail the next day.
7. Finish With a Positive Experience
After trimming your cat’s nails, make sure to end the process on a positive note. Give them treats, cuddles, or playtime—whatever they want. They deserve it!

Helpful Tips for Trimming Your Cat’s Nails
If you’re still feeling overwhelmed at the prospect of trimming your cat’s nails, we have some tips that you may find helpful.
Conclusion
While trimming your cat’s claws may seem daunting, it doesn’t have to be. By following the seven key steps in this article, you can make the process simple and effective. Start by gathering your necessary tools and practicing before you start the process. If you keep the experience positive, it will be even easier to trim your cat’s nails in the future.
Related Read:
Sources
Featured Image Credit: GaiBru-Photo, Shutterstock
Expert cat care, straight to your inbox
News, insights, and useful advice, delivered to you.
No spam — unsubscribe anytime.
By signing up, you agree to our Terms & Conditions and Privacy & Cookies Policy.
How useful was this post?
Click a star to rate. You can leave written feedback afterwards. (We read all feedback.)
Christian started writing for a local newspaper as a teenager, and he's been involved in the publishing industry for most of his adult life. Combining his love of writing with a passion for animals, he is currently the Director of Editorial at Pangolia and the Editor-in-Chief at Catster.
Christian lives in the Philippines with his wife, son, and four rescue cats: Trixie, Chloe, Sparky, and Chopper.