
If you’ve been a cat parent for any length of time, you already know they love climbing, sleeping in high places, and playing with everything that moves. However, if you’re like us, you can’t afford to purchase one of the floor-to-ceiling cat trees found on Amazon, in local stores, and pet stores. They are expensive and usually not as well made as you’re led to believe.
Luckily, we have a fix for that. If you’re an experienced DIYer, you can build your own DIY floor-to-ceiling cat tree for your feline pals with just a few tools, some simple materials, and a little time.
Below are our top picks for these amazing DIY floor-to-ceiling cat trees. One of them should certainly work for you without having to spend a ton at the store. Plus, you’ll have the satisfaction of building the cat tree for your furry friend with your own two hands. Now that’s an accomplishment to be proud of.

The 14 DIY Floor-to-Ceiling Cat Trees
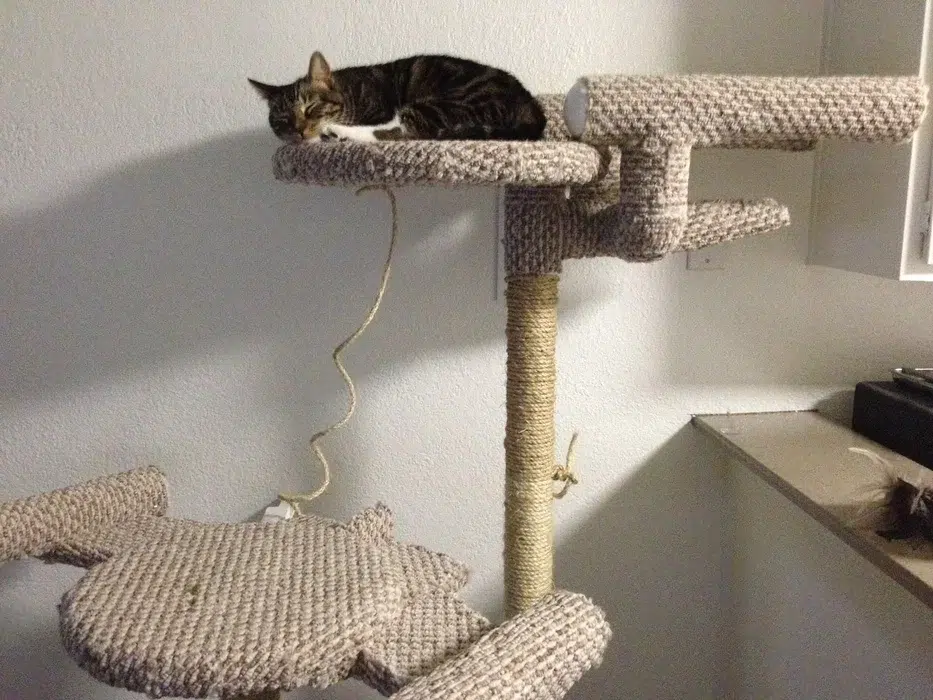
1. Minimalistic Floor-to-Ceiling Climbing Post by IKEA Hackers

| Materials: | Mounting fixtures, posts, doormat, small shelf, sisal rope |
| Tools: | Screwdriver, scissors |
| Difficulty Level: | Low |
There are many options on our list regarding DIY floor-to-ceiling cat tree plans you can build at home. Some of them are pretty complicated, but our number one choice, the Ikea Hacker Tree, is as simple as they come. You need very few tools or materials for this design. You’ll need a floor-to-ceiling post, a doormat, and a few tools, and you’ll be good to go.
To keep your feline safe, it’s vital to secure the base once the tree is constructed. This project should only take a couple of hours for you to complete, and your cats will be ready to play, relax, or roam their new tree.
2. Star Trek Tree by Instructables
| Materials: | Plywood, pine round panels, T-connectors, X-connectors, straight connectors, elbow connectors, PVC pipes, carpet, sisal rope, pipe adhesive, nuts, bolts |
| Tools: | Ratchet wrench, handsaw, staple gun, scissors, drill |
| Difficulty Level: | High |
At number two on our list is the Star Trek Tree. You heard that right. This is a tree after your own heart if you’re a Star Trek fan, and you and your cat love nothing more than to curl up on the couch and watch Star Trek reruns on a stormy Saturday afternoon.
While you don’t need any specialized tools to build the tree, it’s one of the more complicated towers on our list, especially when constructing the ship portions of the tower. The main designs are a Romulan Bird of Prey and the Starship Enterprise, something every Star Trek fan will enjoy.
This is a much more complicated cat tree than the others we’ve listed so far and will take you from 8 to 10 hours to complete if you’re building it alone, maybe less if you have an experienced DIYer helping you.
3. Kitty Tree by Ana White

| Materials: | Plywood, wood pieces |
| Tools: | Drill, jigsaw |
| Difficulty Level: | Medium |
The Ana White Tree is a three-story cat tree that is perfect for cat parents who have multiple cats. It’s also a bit more complicated than the first two on our list but quite a bit easier than the Star Trek Cat Tree, having a medium difficulty level.
If you have older cats or ones with health issues, this tree may be ideal because it has ramps instead of jumping platforms. It’s best to have help with this one because the ramps can be a little hard to place with just one person. Either way, it should take you around 4 hours to complete, even if you’re a new DIYer and don’t have any help.
4. DIY Cat Tree by Instructables
| Materials: | Sisal rope, plywood, square edge timber, screws, angle brackets, wall plugs, carpet, double-sided tape, wood for base |
| Tools: | Hammer, saw, screwdriver, drill, spirit level, box cutter, measuring tape |
| Difficulty Level: | High |
The Instructible DIY Cat Tree is another project with a high difficulty level, and if you’re a beginner, you might need some help from a more experienced DIYer. This cat tree must be against a wall so cats can jump onto the platforms and climb their way up.
While the tree stops just a few feet from the ceiling, you can extend the post if you want it to reach all the way to the top. Your cats will have hours of fun climbing and jumping on this cat tree. If you’re an experienced builder or need help, you can have this tree ready for your cats in as little as 4 hours, maybe less.
5. DIY Cat Tree Play Tower by Southern Revivals

| Materials: | Plywood, tree branches, concrete, screws, wood glue, sealer, stain, jute rope, optional fur padding, sandpaper |
| Tools: | Miter saw, table saw, belt sander, nail gun, hot glue gun, staple gun |
| Difficulty Level: | High |
The Southern Revivals Cat Play Tower is also one of our more difficult projects and requires you to have some experience as a DIYer and with power tools. It doesn’t reach all the way to the ceiling or connect to the ceiling either. Instead, you’ll fill the base with concrete, which then helps to secure the platforms and tree branches.
This one isn’t made for small or limited indoor space, though you can make it smaller if necessary. Although it is much cheaper than the towers you’ll find in the stores, it’s going to take even an experienced builder at least 4 to 6 hours to complete.
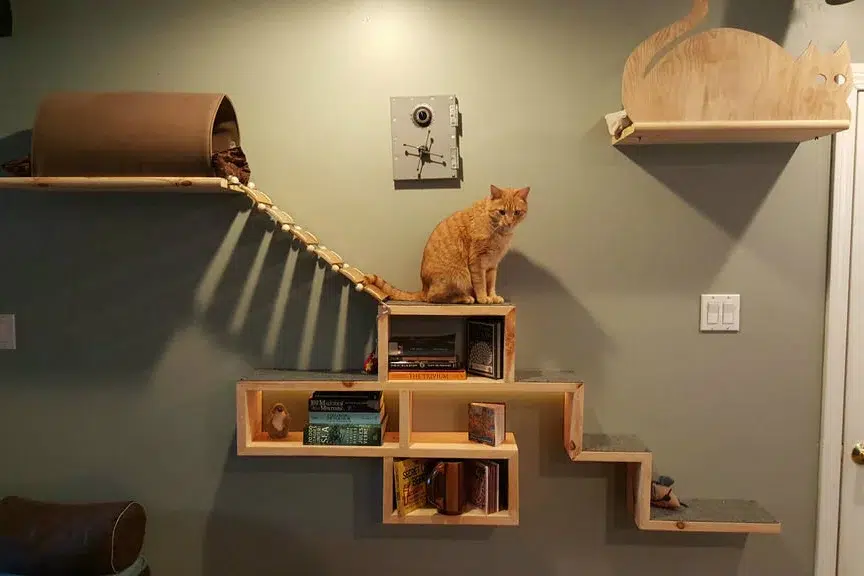
6. Cat Adventure and Escape Wall by Instructables
| Materials: | Birch plywood, pine boards, stair tread, carpet runner, biscuit joints, upholstery tacks, poplar strips, shelf brackets, LED strips |
| Tools: | Scroll saw, miter saw, drill press, hot glue gun, box cutter |
| Difficulty Level: | High |
The Cat Wall by Instructables is built directly onto a wall, making it quite unique. It is the perfect wall for your cat to escape the chaos of your home for when they need to. The LED lights brighten the shelves of the wall and provide more style than the average design.
This build will take 6 to 8 hours if you’re an experienced builder. Your cats will love the wall either way, and it’s much cheaper than trying to buy the same cat wall in stores, which is very expensive.
7. Massive Cat Tree by Instructables

| Materials: | Metal shelf bracket, pine, two kinds of rope, cat tree, mason jar, wooden beer crate, screws, lights |
| Tools: | Drill, jigsaw |
| Difficulty Level: | High |
The Massive Cat Tree is more complicated than the other designs. It is more like a cat mansion or a cat palace and is excellent if you have multiple felines. However, you’re going to need plenty of floor space for this one, and if you live in an apartment or a little house, it might not be the best choice for you.
While you don’t need many tools, the materials list is longer than most DIY plans. You need to be experienced for this one or have someone help you who is. The tree should take you 6 to 8 hours, even with help or if you’re an experienced builder.
8. Cat Condo by Hometalk
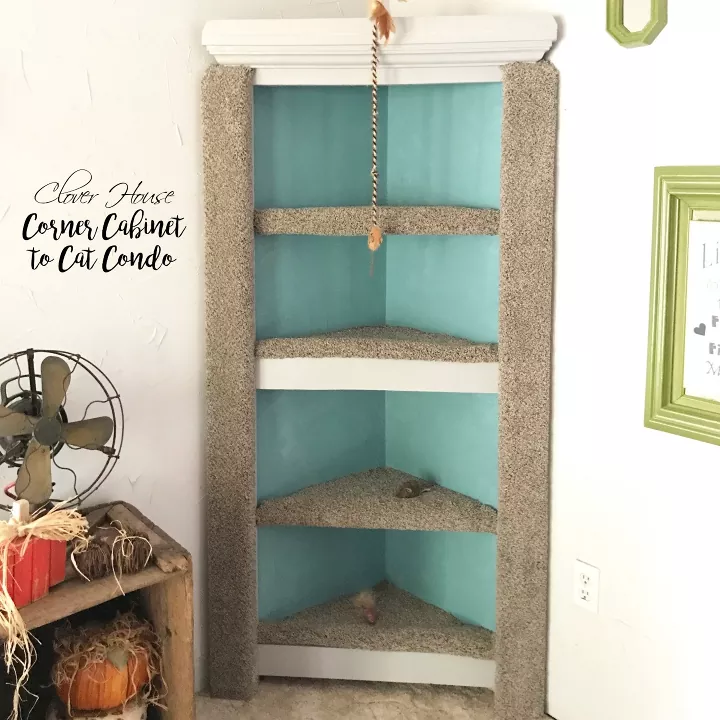
| Materials: | Carpet, paint, used corner cabinet, liquid nails, lag screws |
| Tools: | Putty knife, paintbrush, miter saw |
| Difficulty Level: | Low |
The Cat Condo by Hometalk is one of the simpler plans on the list. This one is nothing fancy and is made of a used corner cabinet and a few tools. It takes very few skills to build, but it helps to have a miter saw and experience with painting. The biggest part is painting the cabinet and putting in the carpet, and you can just use cat cushions or pillows to make it comfortable for your feline friends.
This condo should take you no more than 3 to 4 hours and works for multiple cats, also.
9. DIY Cat Tree by The Experimental Home
| Materials: | Concrete form, plywood, wood, PVC pipes, carpet, glue sticks, cat hammock, sisal rope, lag bolts |
| Tools: | Concrete form, plywood, wood, PVC pipes, carpet, glue sticks, cat hammock, sisal rope, lag bolts |
| Difficulty Level: | Medium |
Number 10 on the list goes to the Experimental Home Cat Tree. Many cats prefer to sleep and rest in an enclosed space, and this cat tree is perfect. You can even use carpet for the tree that matches the carpeting in the room for an elegant, stylish look.
While this plan requires building experience, it should only take you 2 to 5 hours to complete it.
10. Madame Figaro Cat Tree (Japanese) by Madame Figaro

| Materials: | Large tree, cat hammock, sisal rope, screws, mounting brackets |
| Tools: | Staple gun, scissors, screwdriver, saw |
| Difficulty Level: | Medium |
The Madam Figaro Cat Tree is another project that utilizes a real tree. Simply measure the height of your ceilings, then head out to find a tree to bring into your home.
It is important, however, to check the fallen tree closely before taking it back home to ensure you are not bringing any creatures and bugs back to your house and family. This plan should take you around 4 hours altogether but don’t forget to stabilize the cat tree when it’s finished for the best results.
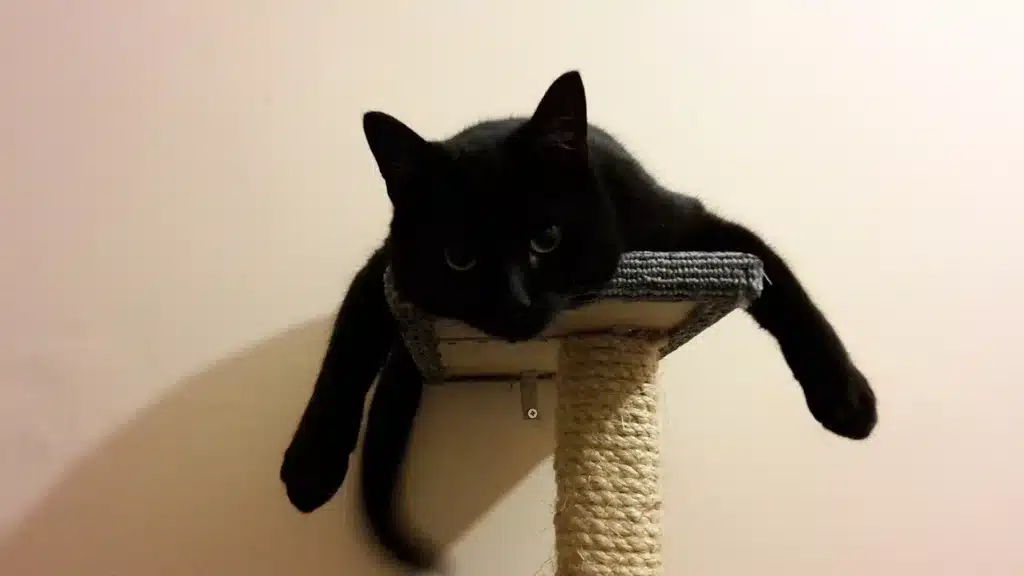
11. Full-Size Cat Scratching/Climbing Post by Instructables

| Materials: | PVC drainpipe, sisal rope, nuts, bolts, MDF tiles, cork sheet |
| Tools: | Screwdriver, saw |
| Difficulty Level: | Moderate |
PVC pipe is a handy material for creating the frame of any cat tree. It can be sawed down to an appropriate size easily and there are plenty of brackets and other fastenings available that fit standard PVC pipe sizes. This full-size cat scratching post guide uses MDF to strengthen and support the PVC pipe, effectively creating plugs for the floor and ceiling. It also uses sisal rope, which is by far the most commonly used scratching material.
This design is literally a single post that runs from floor to ceiling which will be appealing to cats that like to climb using their claws. Alternatively, you can add your own branches and other elements to make a full cat tree.
12. Full Cat Tree by Brittany Goldwyn

| Materials: | Tree, resin, brackets, cord |
| Tools: | Saw, drill, hand tools |
| Difficulty Level: | Moderate |
This page contains a host of different cat tree designs, including one that uses an actual tree that is fastened to the floor and ceiling. It has branches coming off it that are secured using brackets, and toadstools at the base to give the resulting cat tree an attractive look. The design really does look like the tree is growing out of the floor and up through the ceiling and is sure to be appealing to the feline family members.
13. Floor to Ceiling Non-Permanent Cat Scratching Tower by DIY Xplorer
| Materials: | Plywood, carpet, sisal rope, casters, thick cardboard tube |
| Tools: | Drill, stapler, scissors, measure, hammer, jigsaw |
| Difficulty Level: | Moderate |
This floor-to-ceiling non-permanent cat scratching tower uses a thick cardboard tube rather than PVC pipe. You do need to ensure that it is really thick so that it will withstand the use and the weight of the tower. The design is for a non-permanent tower, which means that even if you live in rented accommodation, you can still make a cat tower that your feline friends will love.
We're quite fond of cardboard as a material in cat scratchers, which is why we love the Hepper Hi-Lo Cat Scratcher. Encased within a well-constructed, modern birch plywood frame, this scratcher is designed with both cats and their owners in mind. It offers three versatile configurations to keep your feline friend active and entertained while enticing them to fulfill their natural scratching instincts (and away from scratching things they shouldn't). For more details, click here! At Catster, we’ve admired Hepper for many years, and decided to take a controlling ownership interest, so that we could benefit from the outstanding designs of this cool cat company!
14. DIY Floor to Ceiling Cat Tree and Wardrobe by Mau Mao the Rescue Cat
| Materials: | Plywood, pine pallet wood, sisal rope, carpet tiles |
| Tools: | Basic power tools |
| Difficulty Level: | Moderate |
This DIY floor-to-ceiling cat tree + wardrobe is a little different because it combines a cat tree with an open wardrobe, so it is a good choice if you are limited for space in a bedroom and still want to be able to hang your clothes while providing a safe and fun environment for your cat to play. It has multiple layers for the cat to play on and can be adapted to fit the space you have available to you.

Wrapping It Up
If you’ve done your research, you might be surprised at how much sturdier and even more attractive the plans look for these floor-to-ceiling cat trees than commercial products. That is because these designs are created by cat parents who want to provide entertainment and comfort for their furry friends but don’t want to spend a fortune in order to do it.
However, even though the plans have been tested by the authors, you still need to test the structure for safety before letting your cats climb. The last thing you want is for your cat to get hurt on something you built for them with love. Once that’s done, your cat will love climbing and sleeping on one of the DIY designs for many years to come.
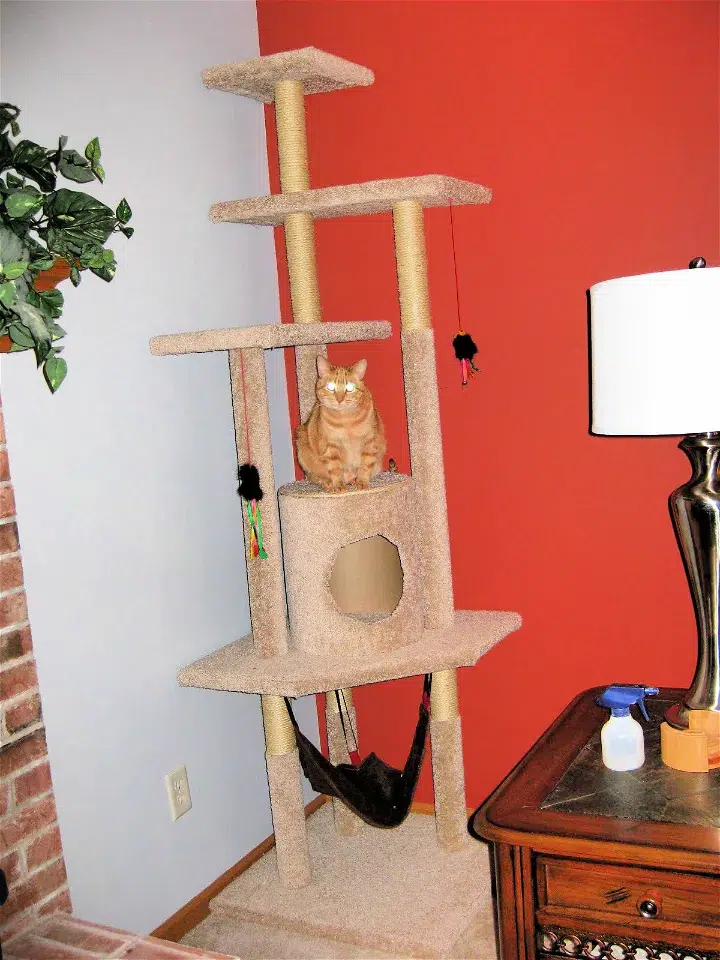
Featured Image Credit: Nils Jacobi, Shutterstock


