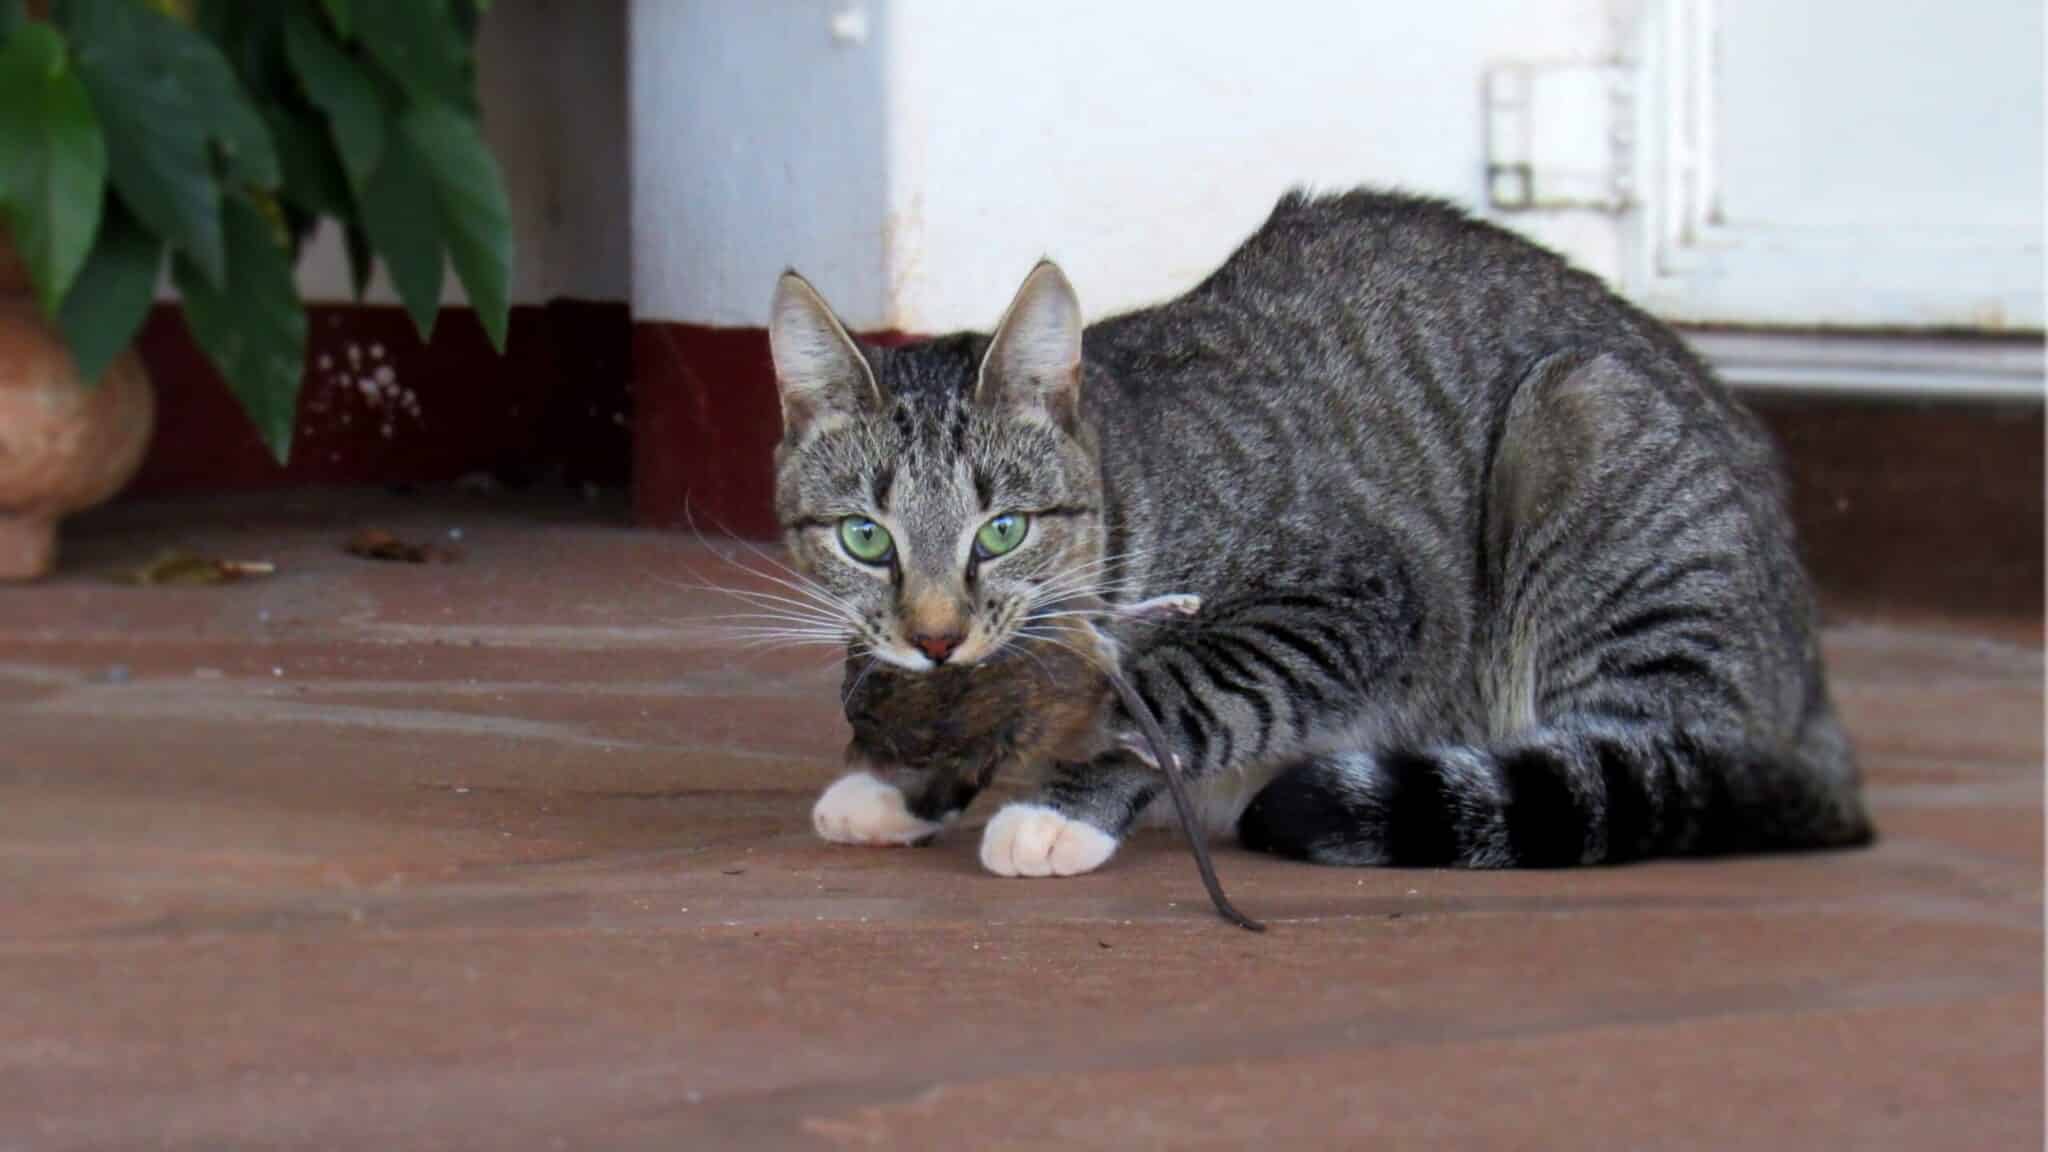
In a wild setting, cats would absolutely eat a rat or mouse. These animals are their prey, which means that they will eat them when hungry. However, cats do not just hunt to eat. Instead, hunting is experienced as a pleasurable activity for cats, even if it does not end in eating. Therefore, domestic cats may hunt rats even if they aren’t hungry.
Rats are often less appetizing than commercial cat food, and eating wild animals may also make some cats sick. Therefore, it is not odd for domestic felines to hunt and kill a rat without actually eating it.
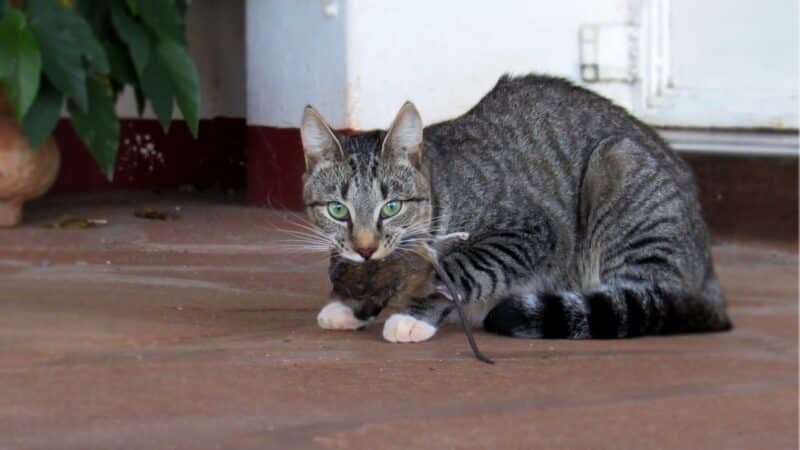
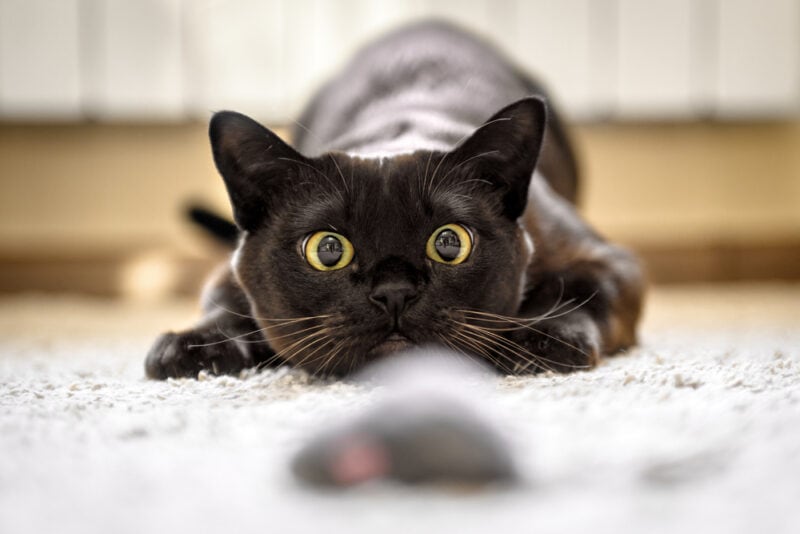
Many cats will “play” with their food to help hone their hunting skills—and to keep the fun going a bit longer. Even feral cats may play with their food before eating it. Therefore, just because your cat plays with a dead rat does not mean they won’t eat it later.
With all that said, you don’t necessarily want your cat to eat a rat.

Is it Safe for Cats to Eat Rats?
No, it often isn’t safe for cats to eat rats they have killed. Cats can get all sorts of parasites and diseases from wild rats. These rats can come into contact with just about anything out in the wild, including intestinal worms and poison. They may be ill, especially if your cat was able to catch them. The rat obviously won’t be cooked before the cat consumes it, too, so all of these issues can be transferred to the cat.
Risks Associated with Cats Eating Rats
Let’s take a quick look at all the potential problems that can occur when your cat consumes a rat:
1. Toxoplasmosis
Toxoplasmosis is a protozoan that doesn’t harm cats. It causes rodents and rabbits to develop cysts in their muscles, making them easier for cats to consume. The protozoan then develops in the cat before passing into the cat’s stool. The parasite lives in the intestinal cells, but it doesn’t work like other parasites. Therefore, it isn’t typically considered harmful to felines, and most cats that have been outside probably have it.
Once a cat is infected with toxoplasmosis, you cannot get rid of it.
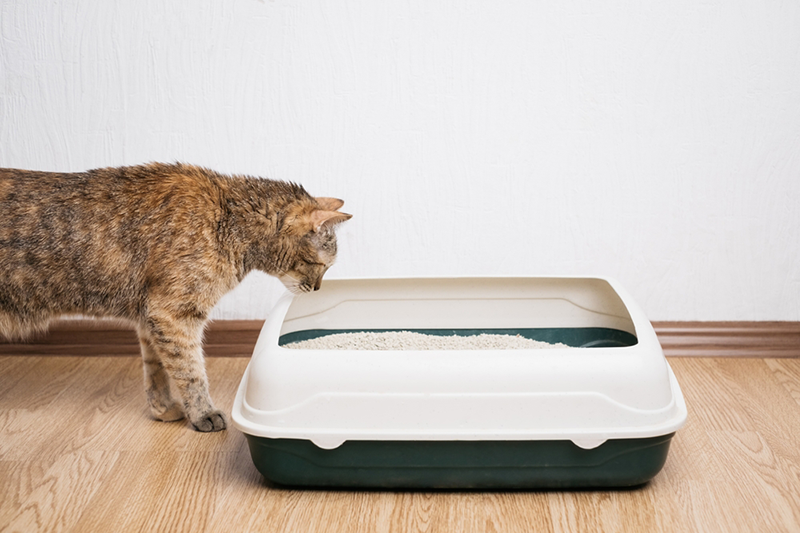
However, cats can pass this parasite to other animals through their stool. Because humans scoop out most litter boxes, they can come into contact with this protozoan. Luckily, the protozoan is also harmless to most people. It can harm unborn babies, though, which is why it is recommended that pregnant women do not scoop out the litter box. Dogs also become quite sick after getting toxoplasmosis, though it isn’t often deadly.
2. Secondary Poisoning
Secondary poisoning occurs when your cat consumes a rat that has already consumed something toxic. For instance, rats may eat rat poison and become lethargic. Your cat may come across the rat and eat it, as it would be very easy to catch. Of course, how much secondary poisoning your cat gets depends on the type and amount of poisoning.
The longer the toxin has been in the rat, the less toxic it will be. Therefore, if your cat eats a rat that was poisoned a few days ago, they likely won’t be affected very much. However, consuming a rat that just ate a fatal amount of rat poison isn’t a good idea.
If you believe your cat has eaten a poisoned rat, you should contact your vet right away. Your feline can easily develop symptoms, as rat poisoning is very toxic to felines.
3. Intestinal Parasites
Rats live in the wild where intestinal parasites are quite common. Therefore, most rats are infected by these parasites. If your feline consumes them, they may become infected, as well. Intestinal parasites are often not deadly or cause many problems. However, they can slowly drain your cat’s nutrients and can cause complications.
Roundworms are pretty common, as many rats are infected with Roundworm larvae. You can easily deworm cats in many situations. If your cat regularly consumes rats, you should speak to your vet about regular deworming. Many outdoor cats should be dewormed, as they’re very likely to pick up parasites.
Do Cats Naturally Kill Rats?
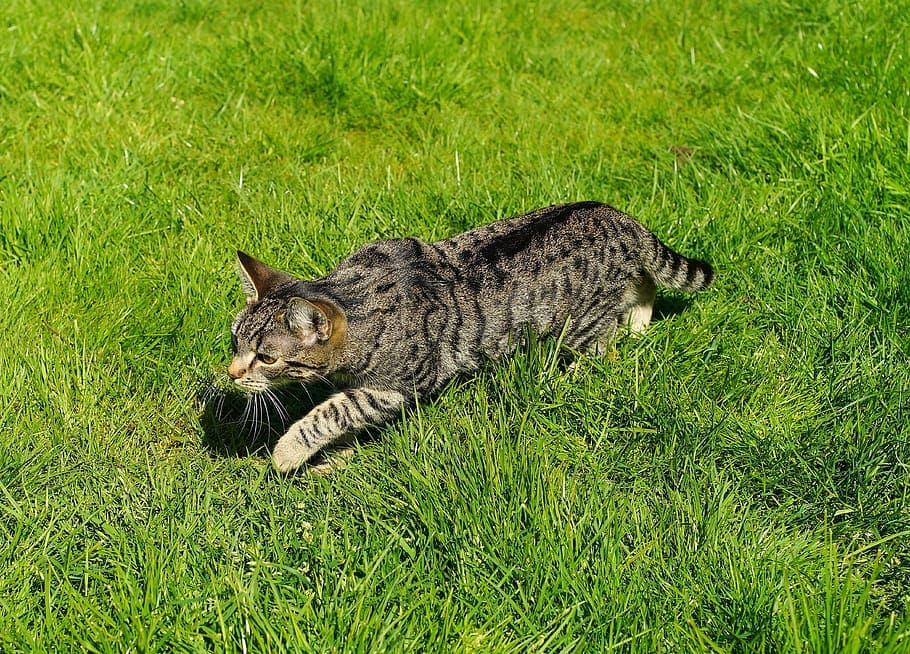
Cats are programmed to kill any small animal. Certain signals help tell a cat that an animal is prey. Firstly, most cats won’t try to attack anything bigger or similar in size to them. Instead, felines only choose small animals. Secondly, the high-pitched noise rats and other small animals make can turn on a cat’s hunting instincts. Many cat toys simulate these noises for a reason.
Finally, the erratic movements of a rat can make a cat pounce and stalk. This behavior is automatic and instinctual. However, practice does make perfect. Felines may learn where rats live and how to catch them. Usually, mother cats show their young prey animals, but many cats will hunt even without this early training.
Domestic cats will instinctually hunt for rats, though they may not be very good at it. Some breeds are more natural-born hunters, while others are not. All cats will have a level of hunting instincts, so you can expect all felines to hunt to some extent.
Do Cats Eat Already Dead Rats?
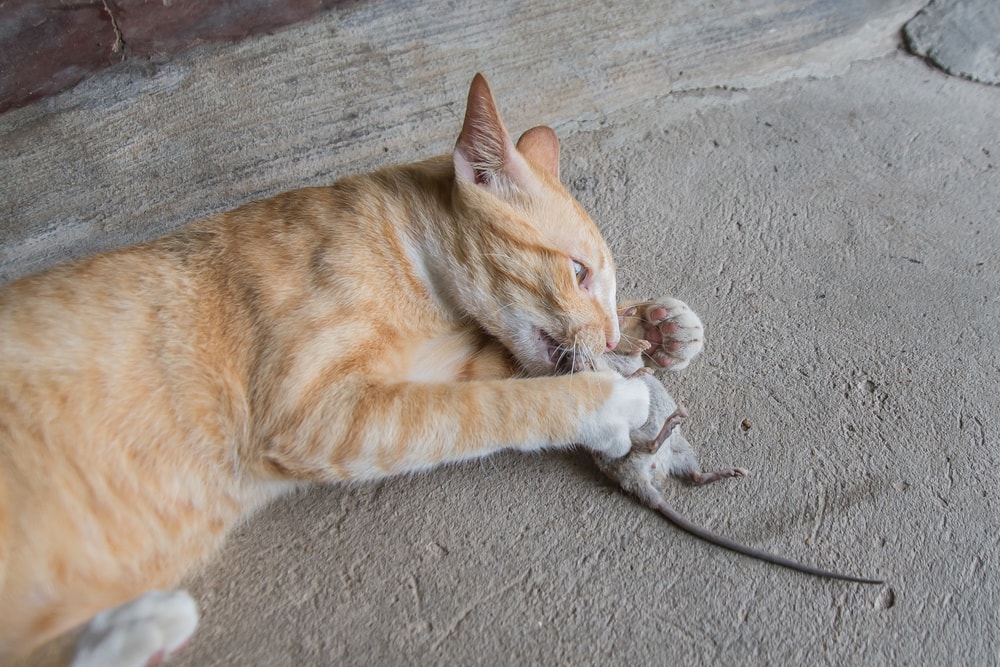
Cats may eat an already dead rat if they are hungry enough. Cats often do not eat what they kill themselves when domesticated, as they aren’t often hungry. However, a feral cat may consume a dead mouse if they don’t have any other source of food.
However, cats have a very sensitive sense of smell and won’t consume a rat that has been dead for very long. A rotten rat is likely not very healthy, and most cats know this. If the cat is starving, they may take the chance and eat a partially rotten rat anyway. Luckily, this isn’t all that common and probably won’t occur with domestic felines.
Will Rats Enter a House with Cats?
Yes. Rats may be able to smell the cat, but most rats living near people come near cats all the time. Many domestic cats are very bad at catching rats, so many rats don’t have anything to worry about. If your cat is a mouser, they may find and kill the rat rather quickly. However, the rat will still enter the house, to begin with.
Just having a cat around won’t keep rats from entering your property.

Conclusion
Cats do eat rats. However, they typically only consume them when hungry. Your average cat isn’t going to eat a rat, as they often have plenty of commercial food in their bowl. Some feral cats may eat rats as a source of food. In fact, many felines will eat rats if they don’t have a regular food source.
However, domestic cats also don’t like rats in most cases. Commercial food is often tastier, and most cats just aren’t used to eating rats. Eating rats also isn’t the healthiest option for our cats. Cats can get diseases and parasites from rats, as well as be potentially poisoned.
Featured Image Credit: JumpStory


