

Popsicles are tasty treats, but they’re usually not safe for cats to eat because they can contain added sugar, artificial colors, and other unhealthy ingredients for cats. Fortunately, you don’t have to feel bad every time you decide to unwrap a popsicle. Your cat can eat their own version of cat popsicles that can even be healthy for them. Cat popsicles are made with ingredients that are completely safe for your cat, and they can also help your cat stay hydrated and cool in warmer months.
Most cat popsicle recipes are easy to make and require just a handful of ingredients – just remember to leave out the popsicle sticks! Your cat does not want a side of splinters with their tasty treat. Here are some DIY cat popsicle recipes that you can try today.

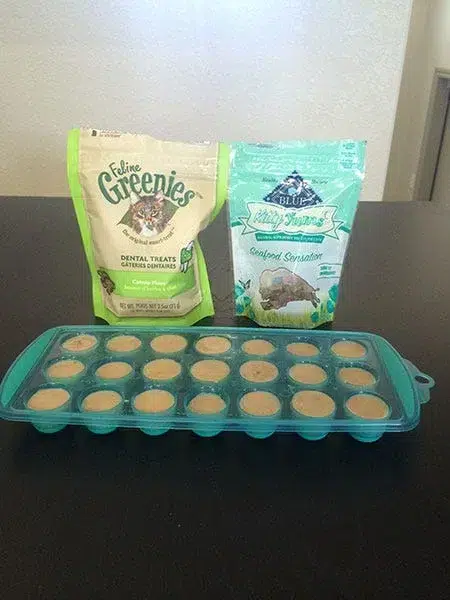
The 6 DIY Cat Popsicle Recipes
1. Amber’s Healthy Homemade Catsicles
| Materials: | Wet cat food, pet-friendly goat milk, cat treats |
| Tools: | ice cube tray or silicone molds, mixing bowl, spatula |
| Difficulty Level: | Easy |
This cat popsicle recipe uses goat milk as its base, which is safe for cats to eat in small quantities. However, if your cat doesn’t digest dairy very well or has a dairy allergy, you can omit this ingredient and use bone broth specifically made for pets.
The recipe also recommends using pate cat food because it freezes more easily. All you have to do is mix the pate with either goat milk or bone broth and then pour them into ice cube trays. Then, you can add some small treats inside each portion before letting the mixture freeze completely.
2. Yogurt-Based Cat Popsicle

| Materials: | Can of low-sodium tuna, chicken broth, organic plain yogurt, catnip |
| Tools: | Ice cube tray, mixing bowl, spatula |
| Difficulty Level: | Easy |
This yogurt-based cat popsicle is a great cat-friendly version of frozen yogurt. It incorporates foods and treats that cats love, like tuna, chicken broth, and catnip. So, it’s a frozen treat that a wide variety of cats will enjoy.
When shopping for canned tuna, be sure to purchase low-sodium tuna packed in water and avoid tuna packed in oil, as well as any tuna with added seasonings or sauces. The best way to incorporate the tuna into the cat popsicle is to mash the pieces into smaller flakes with a fork. Once the tuna is broken up into smaller pieces, mix it with the chicken broth and organic plain yogurt. Then, pour the mixture into ice cube trays and sprinkle a little catnip into each portion. It’s best to freeze these treats overnight before serving them to your cat.
3. Tuna Cat Popsicle
| Materials: | Can of tuna, water |
| Tools: | Blender, ice cube tray, spatula |
| Difficulty Level: | Easy |
This fast and easy cat popsicle recipe only requires two ingredients—tuna and water. As with the previous DIY recipe, make sure to purchase low-sodium tuna canned in water. All you have to do is put the tuna and water in a blender and blend it until it forms a smooth consistency. The mixture can be poured into an ice cube tray and frozen overnight.
Because the recipe is so simple, it’s often good for cats that have sensitive stomachs or food allergies. You can also add extra ingredients like cat treats if you want to add more variety to it.
4. ‘Meowsicle’ Berry Cat Popsicle

| Materials: | Greek yogurt, chopped strawberries, blueberries, meat tender sticks (optional) |
| Tools: | Silicone popsicle mold, cutting board, knife, blender |
| Difficulty Level: | Easy |
There’s no denying that making cat popsicles doesn’t often smell pleasant, so this berry cat popsicle is a great alternative to cool down your kitty on a hot summer day, especially for cats that enjoy an occasional fruit bite. You can use fresh or frozen berries (no stems), which provide fiber, vitamins, minerals, and antioxidants.
If your cat enjoys meat-based treats, you can place a meat tender stick into the popsicle mold. Then, all you have to do is wait for the treats to freeze before giving them to your cat. Popsicles should be served sparingly as a summer treat.
5. Frozen Bone Broth Cat Popsicle

| Materials: | Unseasoned bones, water, celery, carrots |
| Tools: | Stockpot, ice cube trays |
| Difficulty Level: | Easy |
If you really want to spoil your cat, a cat popsicle made with homemade broth will do just the trick. This bone broth recipe for cats is easy to make, but it does take about 8 hours to make. It consists of unseasoned bones, and you can also add carrots or celery for more flavor.
Once the broth has cooled, you can pour it into an ice cube mold and add a few cat treats if you’d like. It’s an extremely flavorful and savory treat that your cat just won’t be able to resist.
6. Cat-Friendly Banana Meowsicles

| Materials: | Bananas, plain yogurt, dry cat food |
| Tools: | Paper cups, popsicle stick (optional) |
| Difficulty Level: | Easy |
This cat popsicle is another fruit-based treat with a cute design. It does require some assembly, but it’s the perfect summer treat for cats. The first thing you have to do is crush some dried cat food or treats and line the bottom of the cup with it. Then, mash bananas and mix them with the plain yogurt. Once they’re completely mixed together, you can pour the mixture into the cup. After that, stick a popsicle stick in the center of the cup.
Once the popsicles are completely frozen, the paper cups can be peeled off. Then, this adorable treat is all ready to serve.

What Can I Put Inside a Cat Popsicle?
As you can see from our DIY cat popsicle recipes, most of them follow similar steps. They’re pretty easy to make once you get the hang of it, and you can start getting creative by incorporating your own ingredients.
Cat popsicles require a base that will hold all the ingredients together when they freeze. Some bases that you can use include unsalted and unseasoned bone broth, goat’s milk, and plain yogurt. Once you have a base, you can add ingredients. You can go for savory flavors, like tuna, chicken, or cat food. If you want to add variety or switch things up, consider making a fruit or vegetable popsicle. Some fruits and vegetables that cats can eat include blueberries, bananas, pears, peas, carrots, and pumpkins.
You can even make use of leftovers from preparing your own food, like the water used to boil some chicken!
Once you’ve selected your ingredients, you can mix them with your base. Keep in mind that it’s often best to puree the ingredients or mash them up, as it will help to keep the popsicles intact when they freeze. After you’ve poured the mixture into ice cube molds, it must remain in the freezer for several hours or overnight. Most cat popsicles can last for several weeks inside your freezer.
Or, you could treat your cat to something entirely different, the Hepper NomNom Cat Bowl. It offers them a wealth of health benefits and is the perfect modern addition to any home! Click here to learn more. At Catster, we’ve admired Hepper for many years and decided to take a controlling ownership interest so that we could benefit from the outstanding designs of this cool cat company!
Conclusion
Cat popsicles are a fun way to introduce new treats to your cat and help them stay cool and hydrated. The possibilities are endless, and you can get really creative with coming up with your own recipes. Cat popsicles are easy to make, so make sure to have a few stored in your freezer. Your cat will love sharing a moment of eating tasty frozen treats with you the next time you’re craving a popsicle.
Featured Image Credit: Nils Jacobi, Shutterstock


2 Responses
Very cute ideas!
Hi Sharky, thank you very much for reading us, we are delighted to learn you enjoyed the ideas in this post!