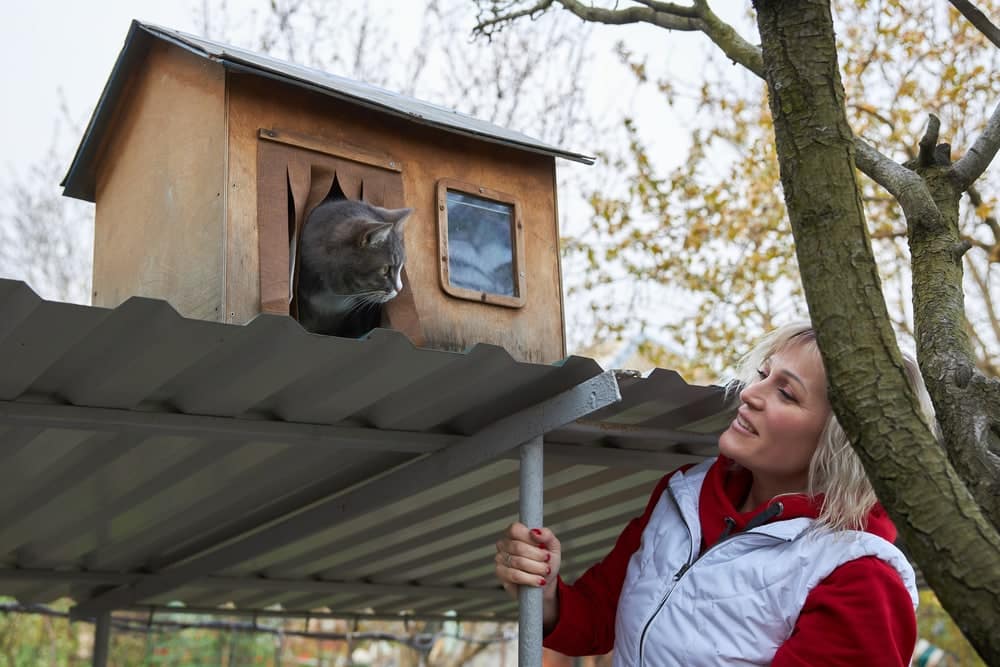
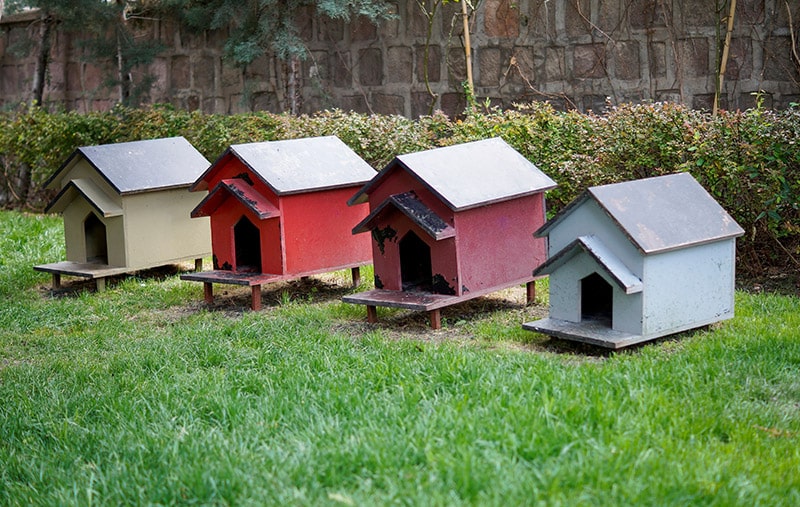
Outdoor cat shelters are fabulous for indoor cats who occasionally spend time outside. It’s also great for feral cats, abandoned cats, and any other cats who might need a place to stay—even if it’s your neighbor’s cat that just needs a nap.
Have you thought about making an outdoor shelter, but you’re not sure where to start? We have you covered! This is an incredible design that is easy to follow and relatively simple to make—although we recommend reviewing materials and tools to see if you’re comfortable with the skillset.
So, without further ado, let’s get cracking on this DIY!
Reasons to Build a DIY Outdoor Cat Shelter
Building an outdoor cat shelter will cost significantly less than buying a cat house from a store. So, the very first upside is money saving, for sure! If you’re paying to feed and shelter homeless kitties, it can take a toll on your bank account, so cut corners when you can by building your own shelter.
You can also make your DIY cat house however you want. You don’t have to buy a prefabricated model that might be cheaper and quicker to fall apart.
A Little About the DIY
This project was found on NewYorkRenovator.com. It is a very standard cat shelter, and you likely have a few of the supplies already on hand! It’s estimated that creators will spend an average of $45 to build. So, always ensure it’s in your budget and cut corners when possible.
- 30-gallon plastic tote + lid
- 18-gallon plastic tote + lid
- 1 roll of fiberglass insulation
- Or 1 sheet of rigid 1-inch foam board/polystyrene
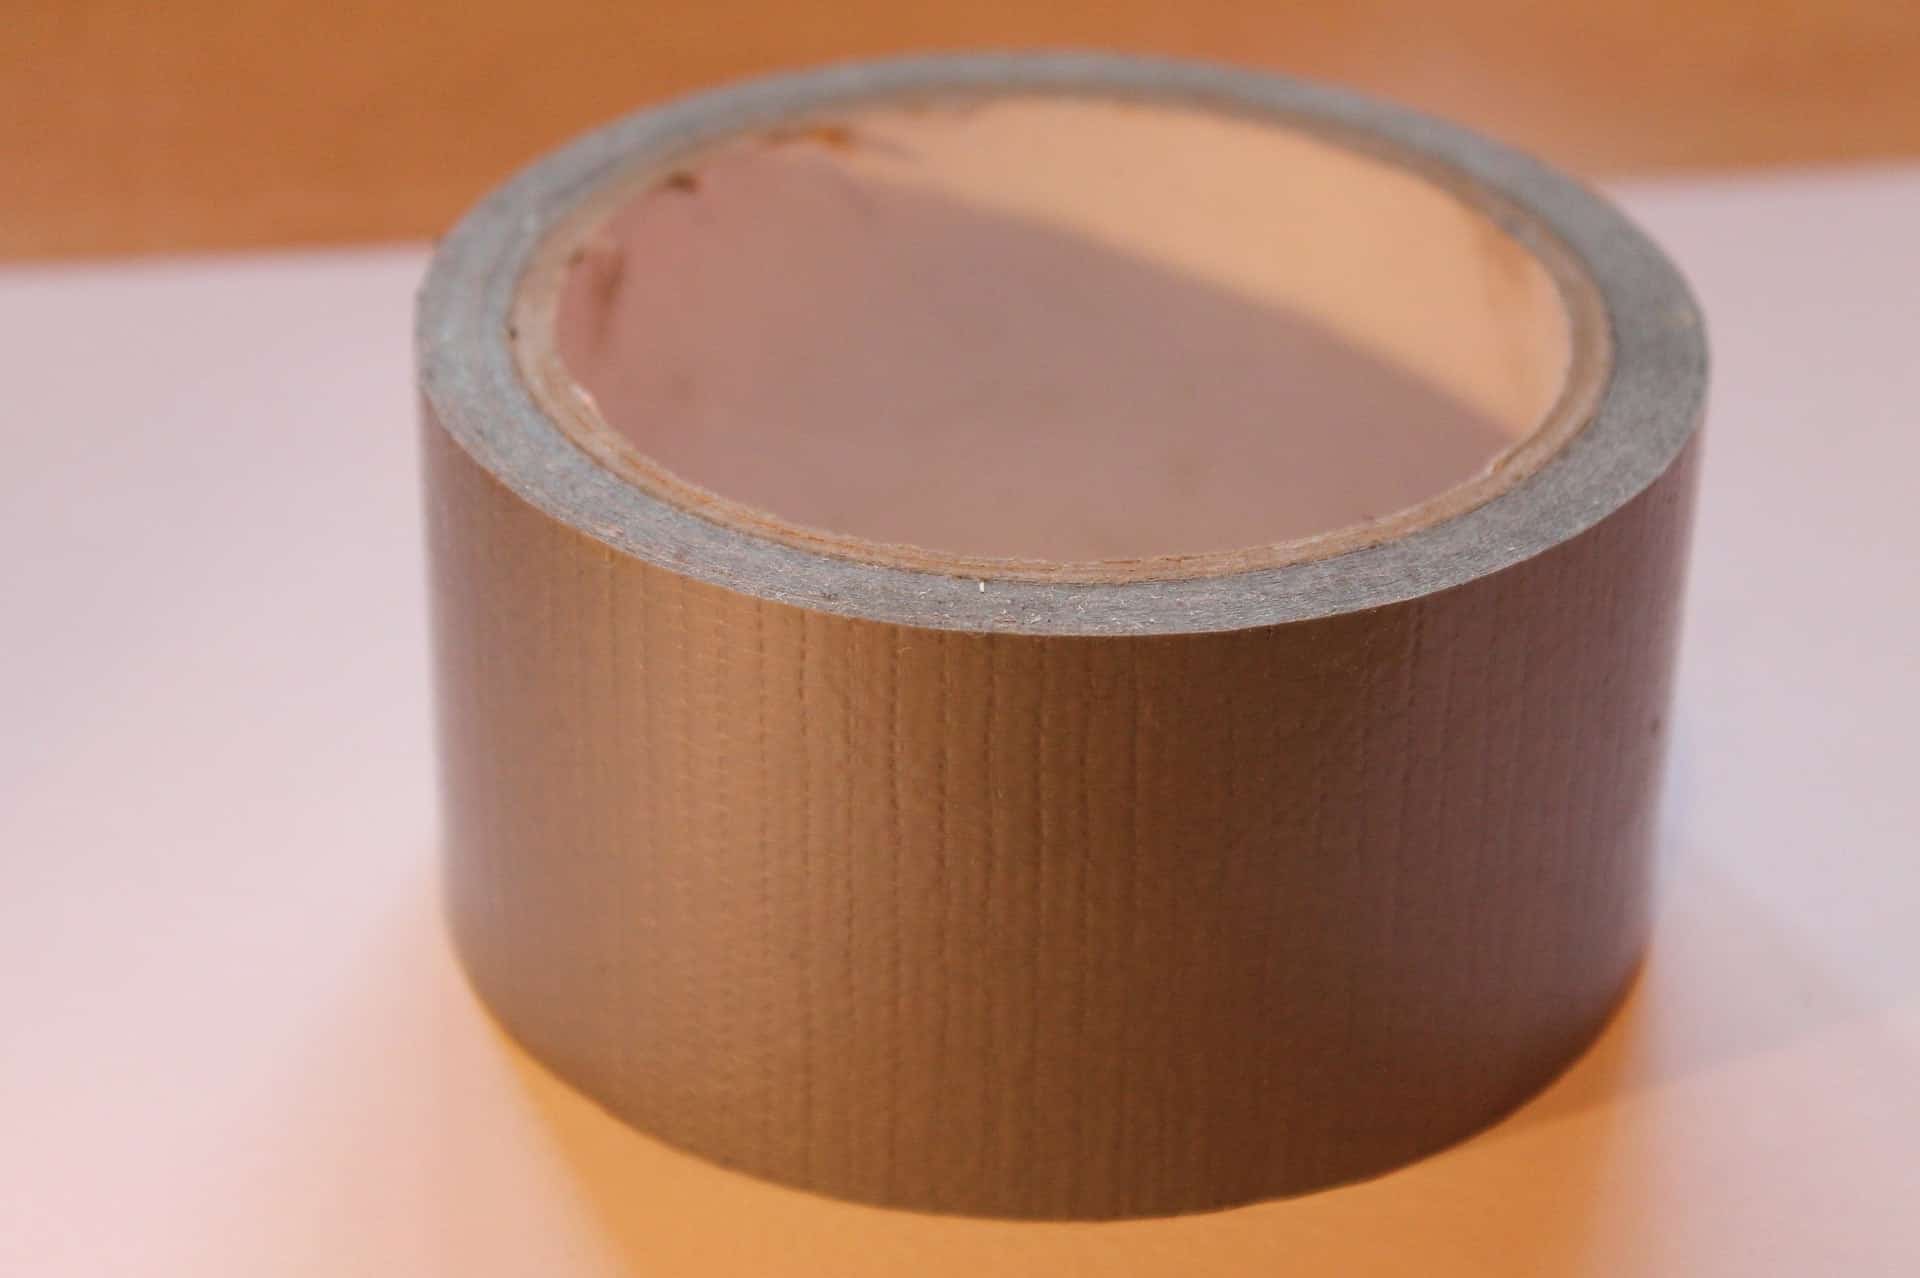
- Duct tape
- A bottle of expanding foam
- Fine toothed saw
Considerations
Thick plastic is extremely hard to cut, so make sure you are careful and use the right tools. Typically, a fine-toothed saw works best for the job. If you use anything else, you could make the job a lot harder or even get injured in the process.
How to Build an Insulated DIY Outdoor Cat House
Now that you have your supplies and are ready to build, let’s get cracking.
1. Cut the doorway for the shelter in the center of the box using a saw.
Make the opening big enough that cats can go in and out without issue. Many totes have different curvatures in them also, so make sure you aren’t doing extra work for yourself.

2. Grab your duct tape.
Carefully seal the edges of the opening to cover jagged areas. Plastic can be very hard and pokey if it’s cut, so it’s just a safety precaution to protect your pet.
3. Next up, insulation.
In order to put the second box inside, you will need to line your largest tote with insulation. Your fiberglass insulation will be a certain thickness. Generally, rolls range from 3 to 6 inches. In this case, you won’t want to make the insulation too thick, as it will make it more difficult for the totes to fit together properly. We recommend 3 inches.
Put a piece of insulation in the bottom of the larger tote. This way, it provides the appropriate height to measure where to cut the smaller tote. Then line the sides with insulation. You will want your totes to align so the entrance isn’t askew.

4. Cut the hole for the smaller tote.
After the installation is installed, you’ll place the smaller tote inside of the larger tote, so make sure the two align correctly. Measure the correct distance up from the bottom and sides.
Then, take the smaller tote out and cut out the entrance using the saw.
5. Duct tape the opening of the smaller tote.
You will repeat this step the same way you did the larger tote. The opening needs to be of like size for the design to work properly.

6. Align the totes.
Place the smaller tote inside the other and try to line up the doorway as best as you can.
7. Fill in with insulation.
Make sure there are no gaps to avoid chilly spots. It can make all the difference. You don’t have to be a fancy cutter, either; you can cut pieces to fit as needed. You can also use expanding foam. This product will fill in all the gaps to ensure an insulted seal. This is especially necessary around the entrance.

8. Make sure all the insulation is in the box.
Cut the piece or tuck it in if you see any peeking out. Ideally, you could create one main cut and wind it around to the doorway. Then, you could simply place a piece of insulation above and below the door.
9. Place the lid on tightly.
The lid for the larger tote should fit comfortably right on top.
And voila! There you have it! You have your very own insulated cat box to house all the neighborhood vagabonds so they can stay safe. Or, perhaps you have an outside cat that needs the extra warmth, and now you have built them their very own cozy cabin in the winter wilderness.
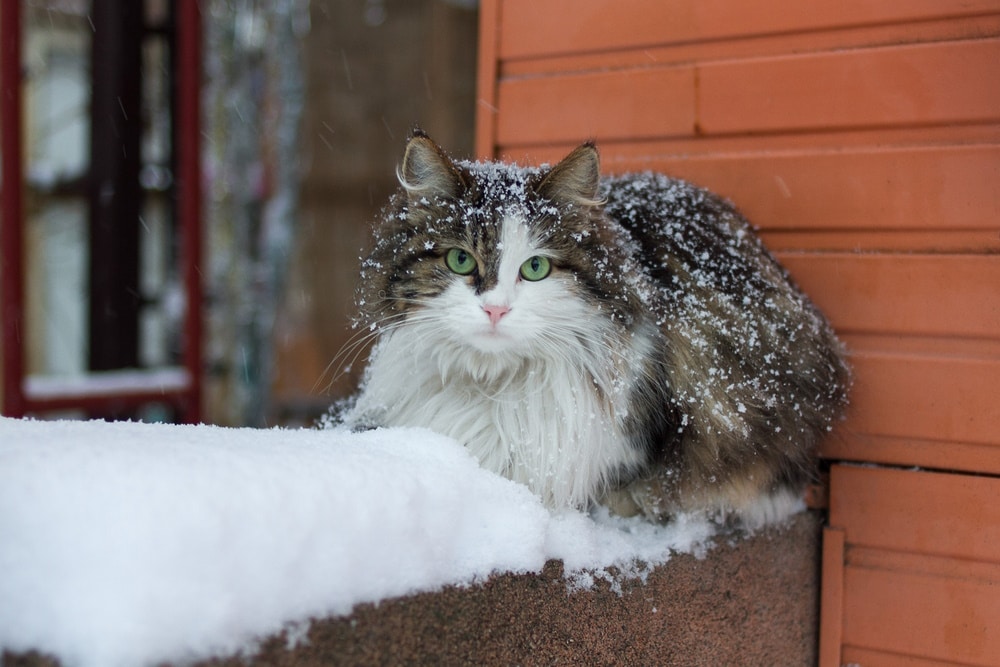
Either way—the kitties will certainly appreciate it through the colder months. It will help prevent frostbite, hypothermia, and all sorts of other potential complications due to cold weather.

Conclusion
What did you think of these instructions? Did you find it simple enough? I certainly hope it wasn’t too much trouble. Remember that you can adjust to better suit your needs. Once you get the hang of it, you can create a more advanced version or keep it simple.
Plus, this warming box is wonderful for multi-cat use. So, you could even make a few and house your local cat colony throughout the chilly months. These boxes are well-insulated, cheap to make, and perfectly cozy for our outdoor feline friends.
Featured Image Credit: okanakgul, Shutterstock
Contents
- Reasons to Build a DIY Outdoor Cat Shelter
- A Little About the DIY
- How to Build an Insulated DIY Outdoor Cat House
- 1. Cut the doorway for the shelter in the center of the box using a saw.
- 2. Grab your duct tape.
- 3. Next up, insulation.
- 4. Cut the hole for the smaller tote.
- 5. Duct tape the opening of the smaller tote.
- 6. Align the totes.
- 7. Fill in with insulation.
- 8. Make sure all the insulation is in the box.
- 9. Place the lid on tightly.
- Conclusion


