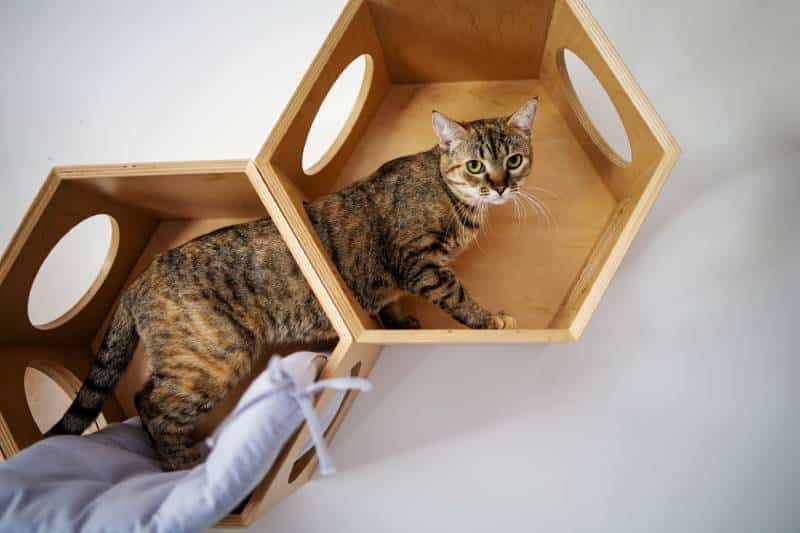
Cats are natural athletes that crave every chance they can get to show off their lithe grace. Whether it’s making a jungle gym out of your furniture or zooming around everything in sight at 5 AM, your cat needs something to satisfy that natural urge to climb. As a bonus, climbing toys also double as a way to let their scratching urges out. Sounds perfect, right?
When you’re low on floor space but high in DIY skills, a DIY cat door climber is just the thing you need in your cat’s life. Exactly how you go about it is less clear, which is where we come in. Below, we share some of the best DIY cat door climbers you can make right at home.
The 6 Ideas on How to Make a DIY Cat Door Climber
1. DIY Simple Cat Door Climber by Dr. Karyn Kanowski
| Difficulty: | Easy – Intermediate |
| Tools: | Eyelet hole tool and eyelets—select eyelets that are appropriate for thicker materials, like leather, and have a diameter large enough for hooks to go through (≥ 10 mm), Velcro strips, Hammer, Ruler or tape measure, Marking pen |
| Materials: | 2x double over-the-door hooks – Make sure the size of the hooks is right for the depth of your door, 1x carpet or sisal rug, approximately 2 feet x 5 feet – Make sure it will fit your door without going over the door handle |
| Cost: | $50–$60 (more or less, depending on rug choice) |
| Time needed: | 30 minutes |
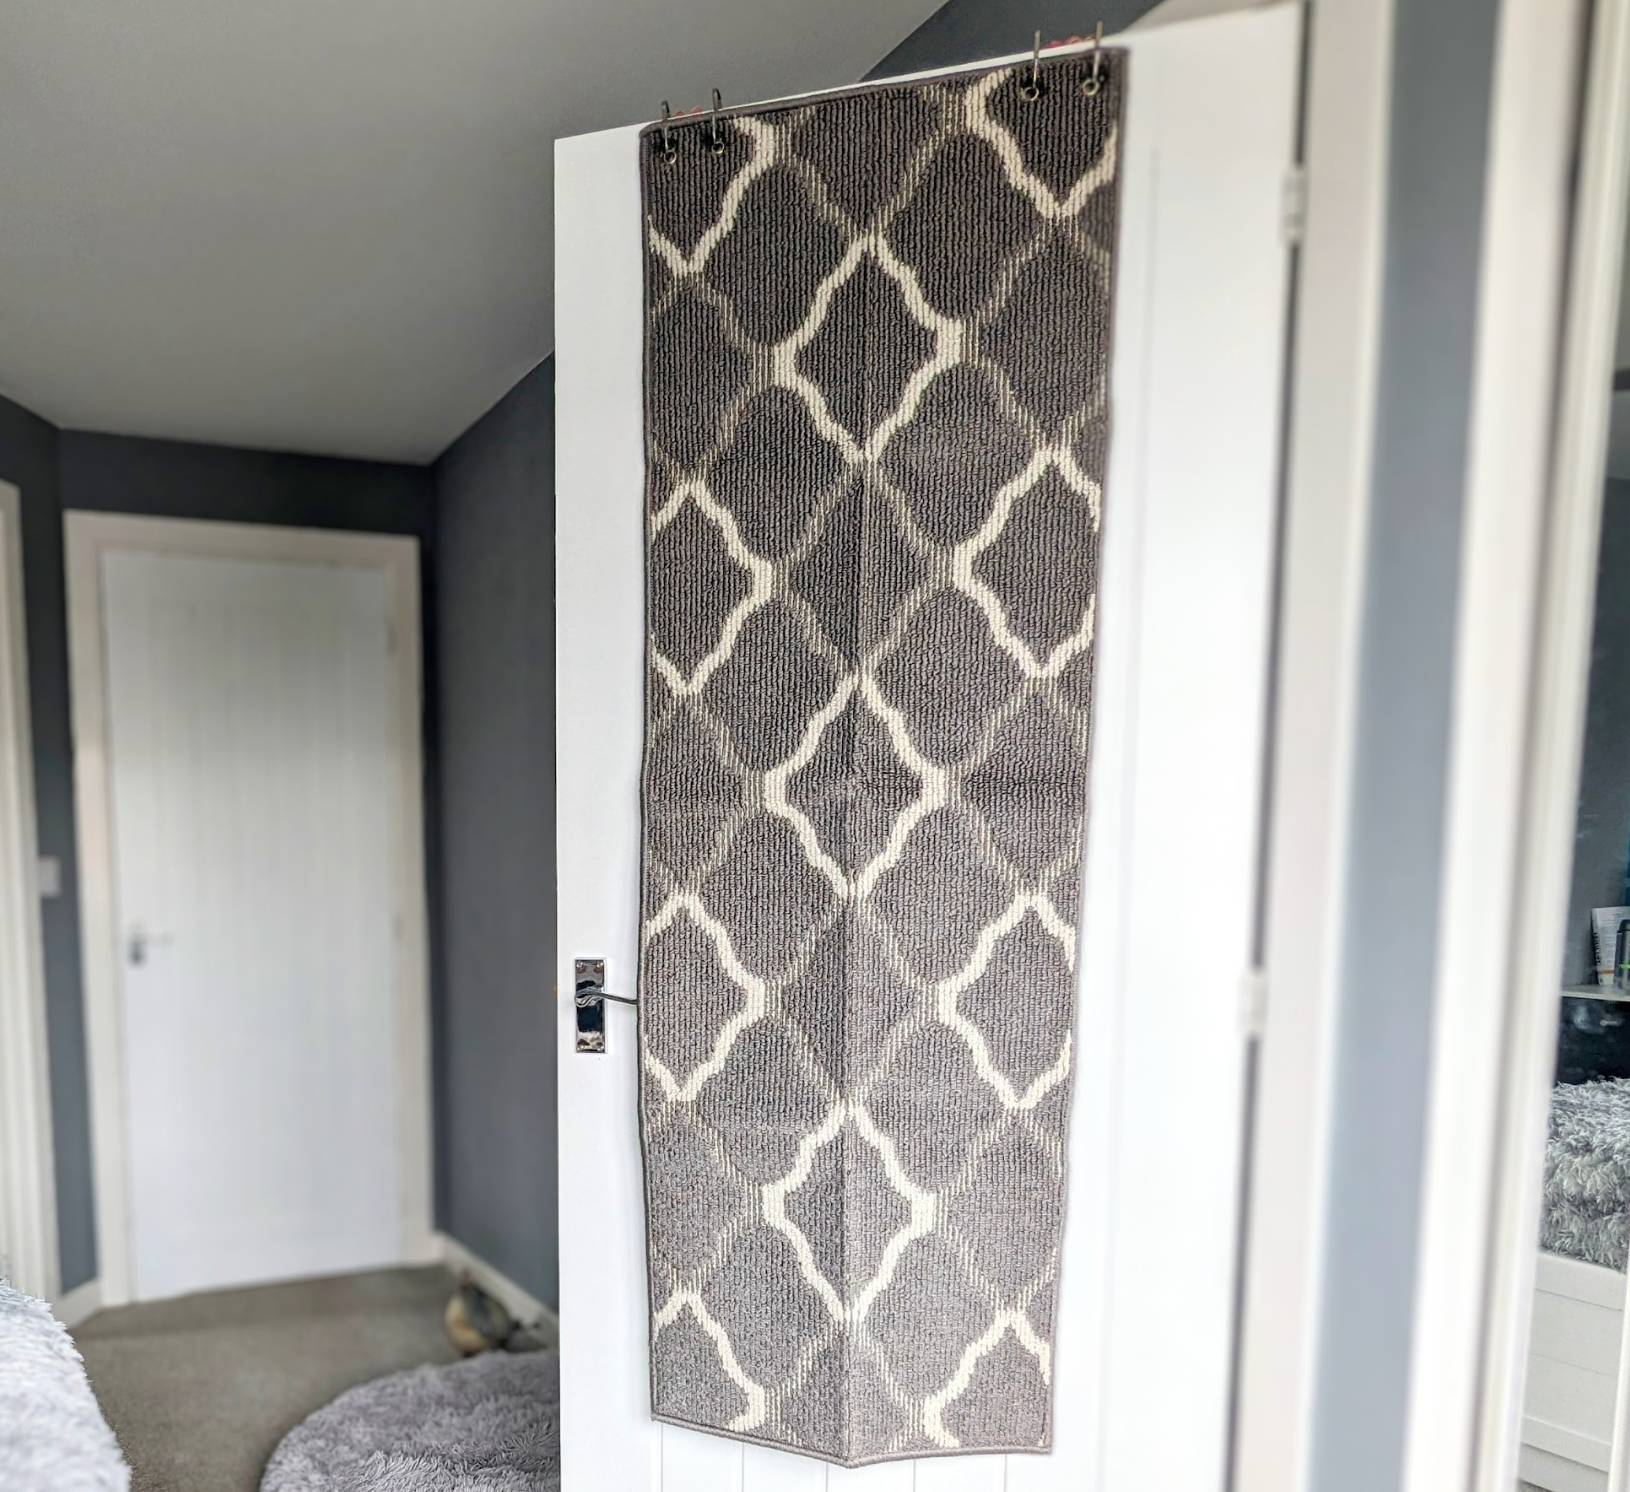
Are you looking for an easy, affordable way to add some excitement to your cat’s world? This DIY cat door climber will tick all those boxes and give your cats somewhere to scratch their claws and explore new heights, without breaking the bank. Let’s get started!
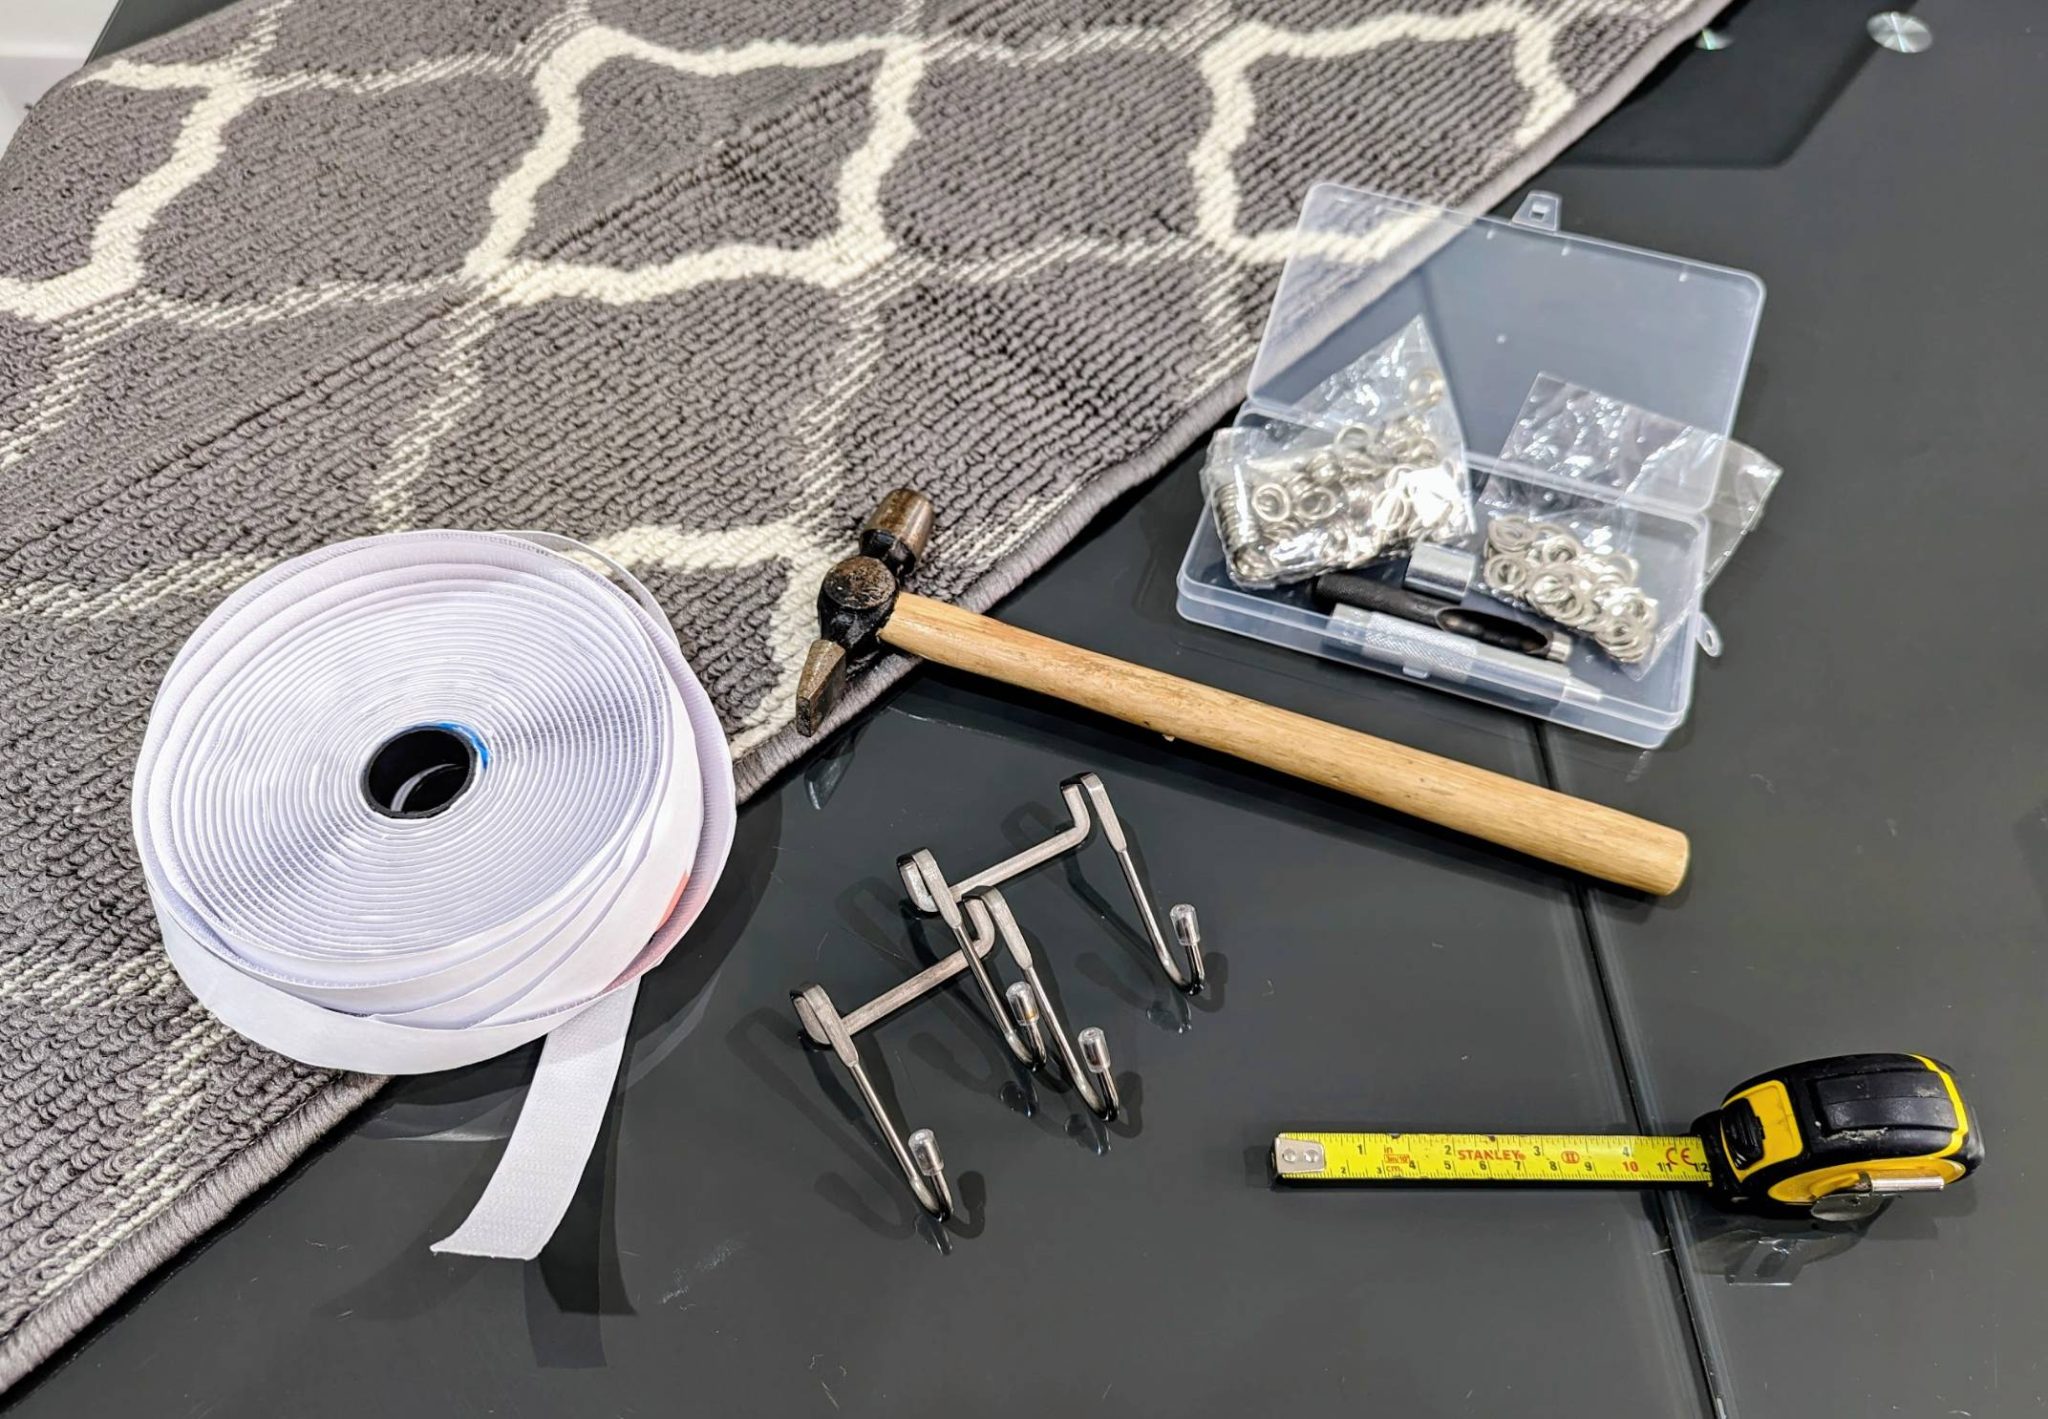
The main expense of this project is the rug, and the cost will depend on where you find one. You could pick one up from a charity shop or flea market, buy one brand new (with this option, you can choose one to match your decor!), or you might already have one at home. It doesn’t need to go all the way to the floor, as your cat will want to reach up to scratch and stretch. Karyn bought a basic eyelet kit from Amazon, but if you want to splurge, you can pick up a device that makes the hole and places the eyelet in one step.
Step 1
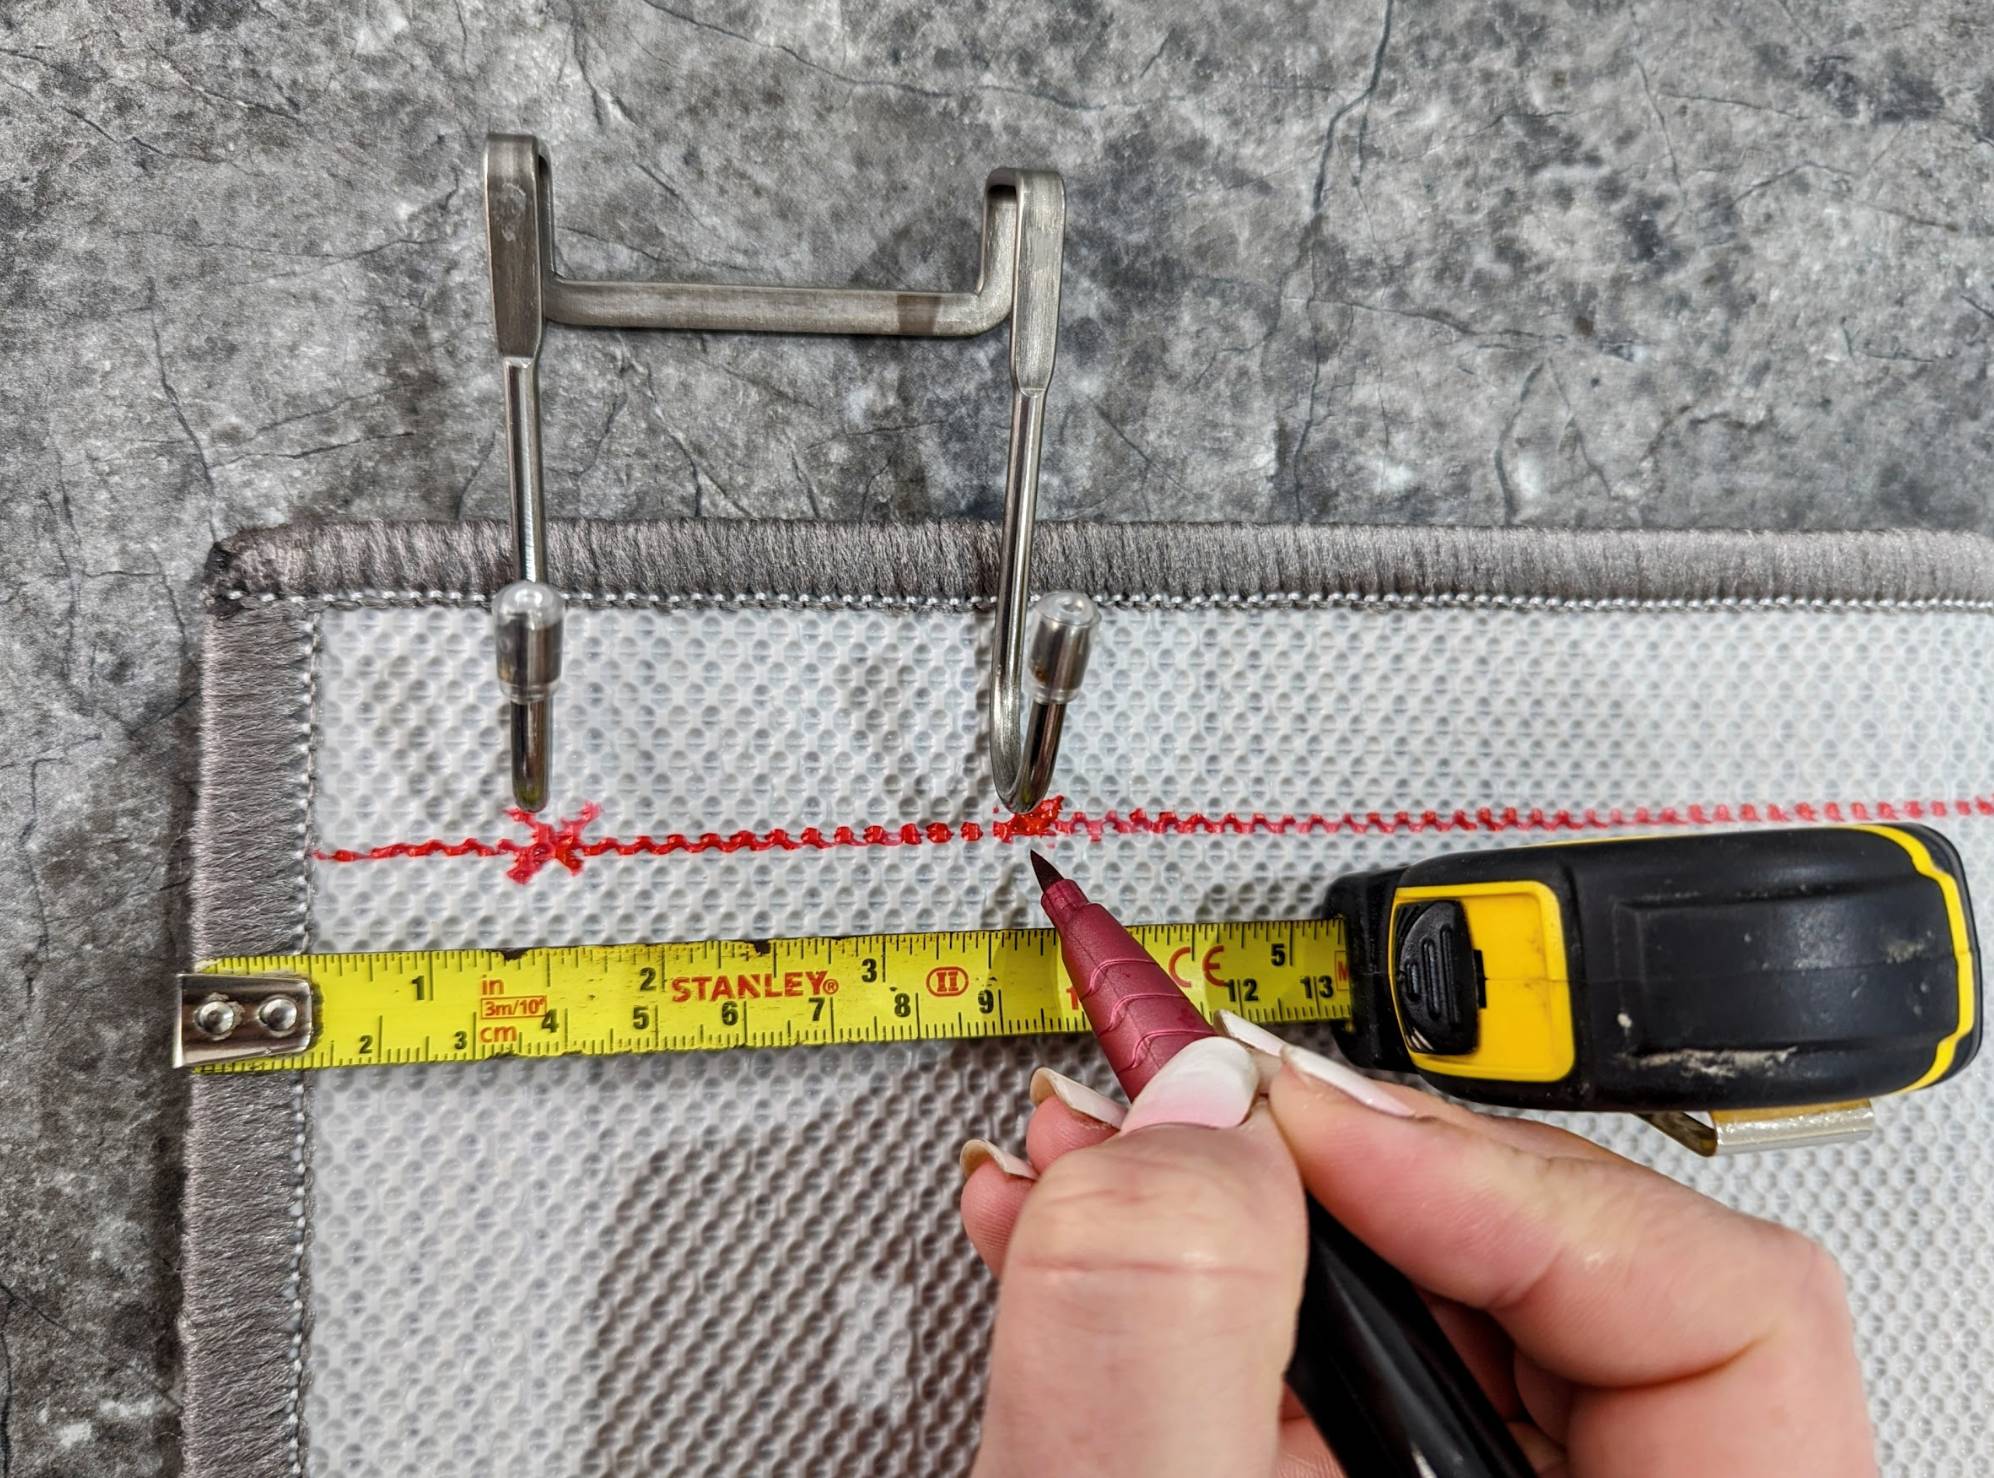
On the back, draw a straight line 1.5 inches down from the top (short edge) of the rug. Make a mark on the line 1.5 inches in from the long edges on either side. These will be the outer holes for the hooks. Use the hooks to measure and mark the location of the second hole. Double-check that the marks line up with the hooks.
Step 2
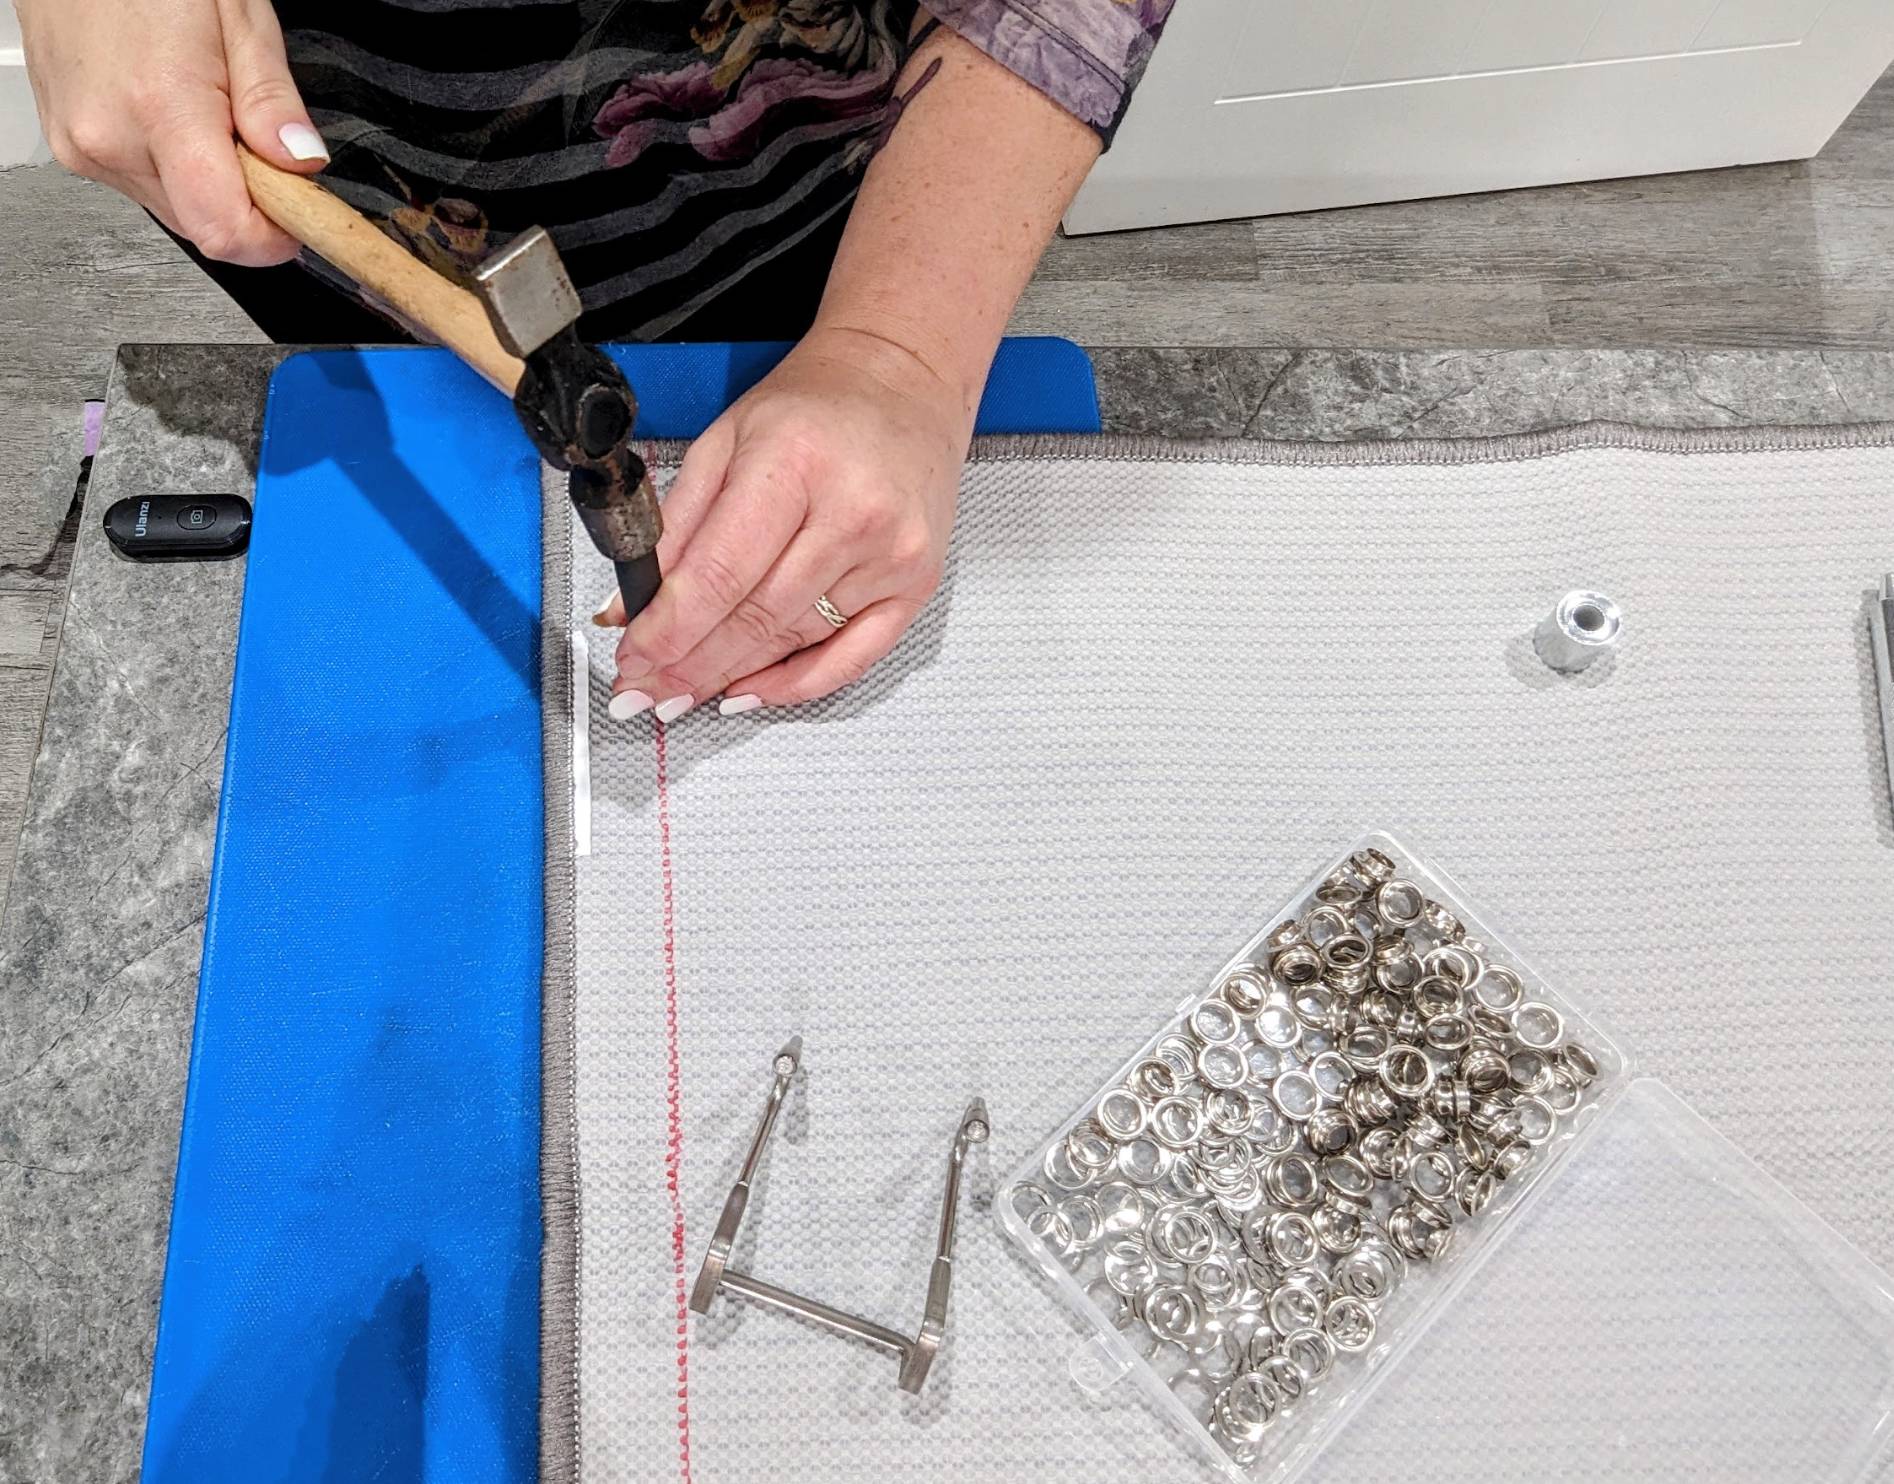
Use your eyelet tool to create a hole at each of the four marks and place the eyelets around the holes.
This video will help you place your eyelets.
Tip: Tidy up the carpet around the holes to make it easier to place and secure your eyelets. You can use scissors to trim the carpet, or if the rug is a polyester blend, carefully use a flame to melt the fibers around the hole.
Step 3
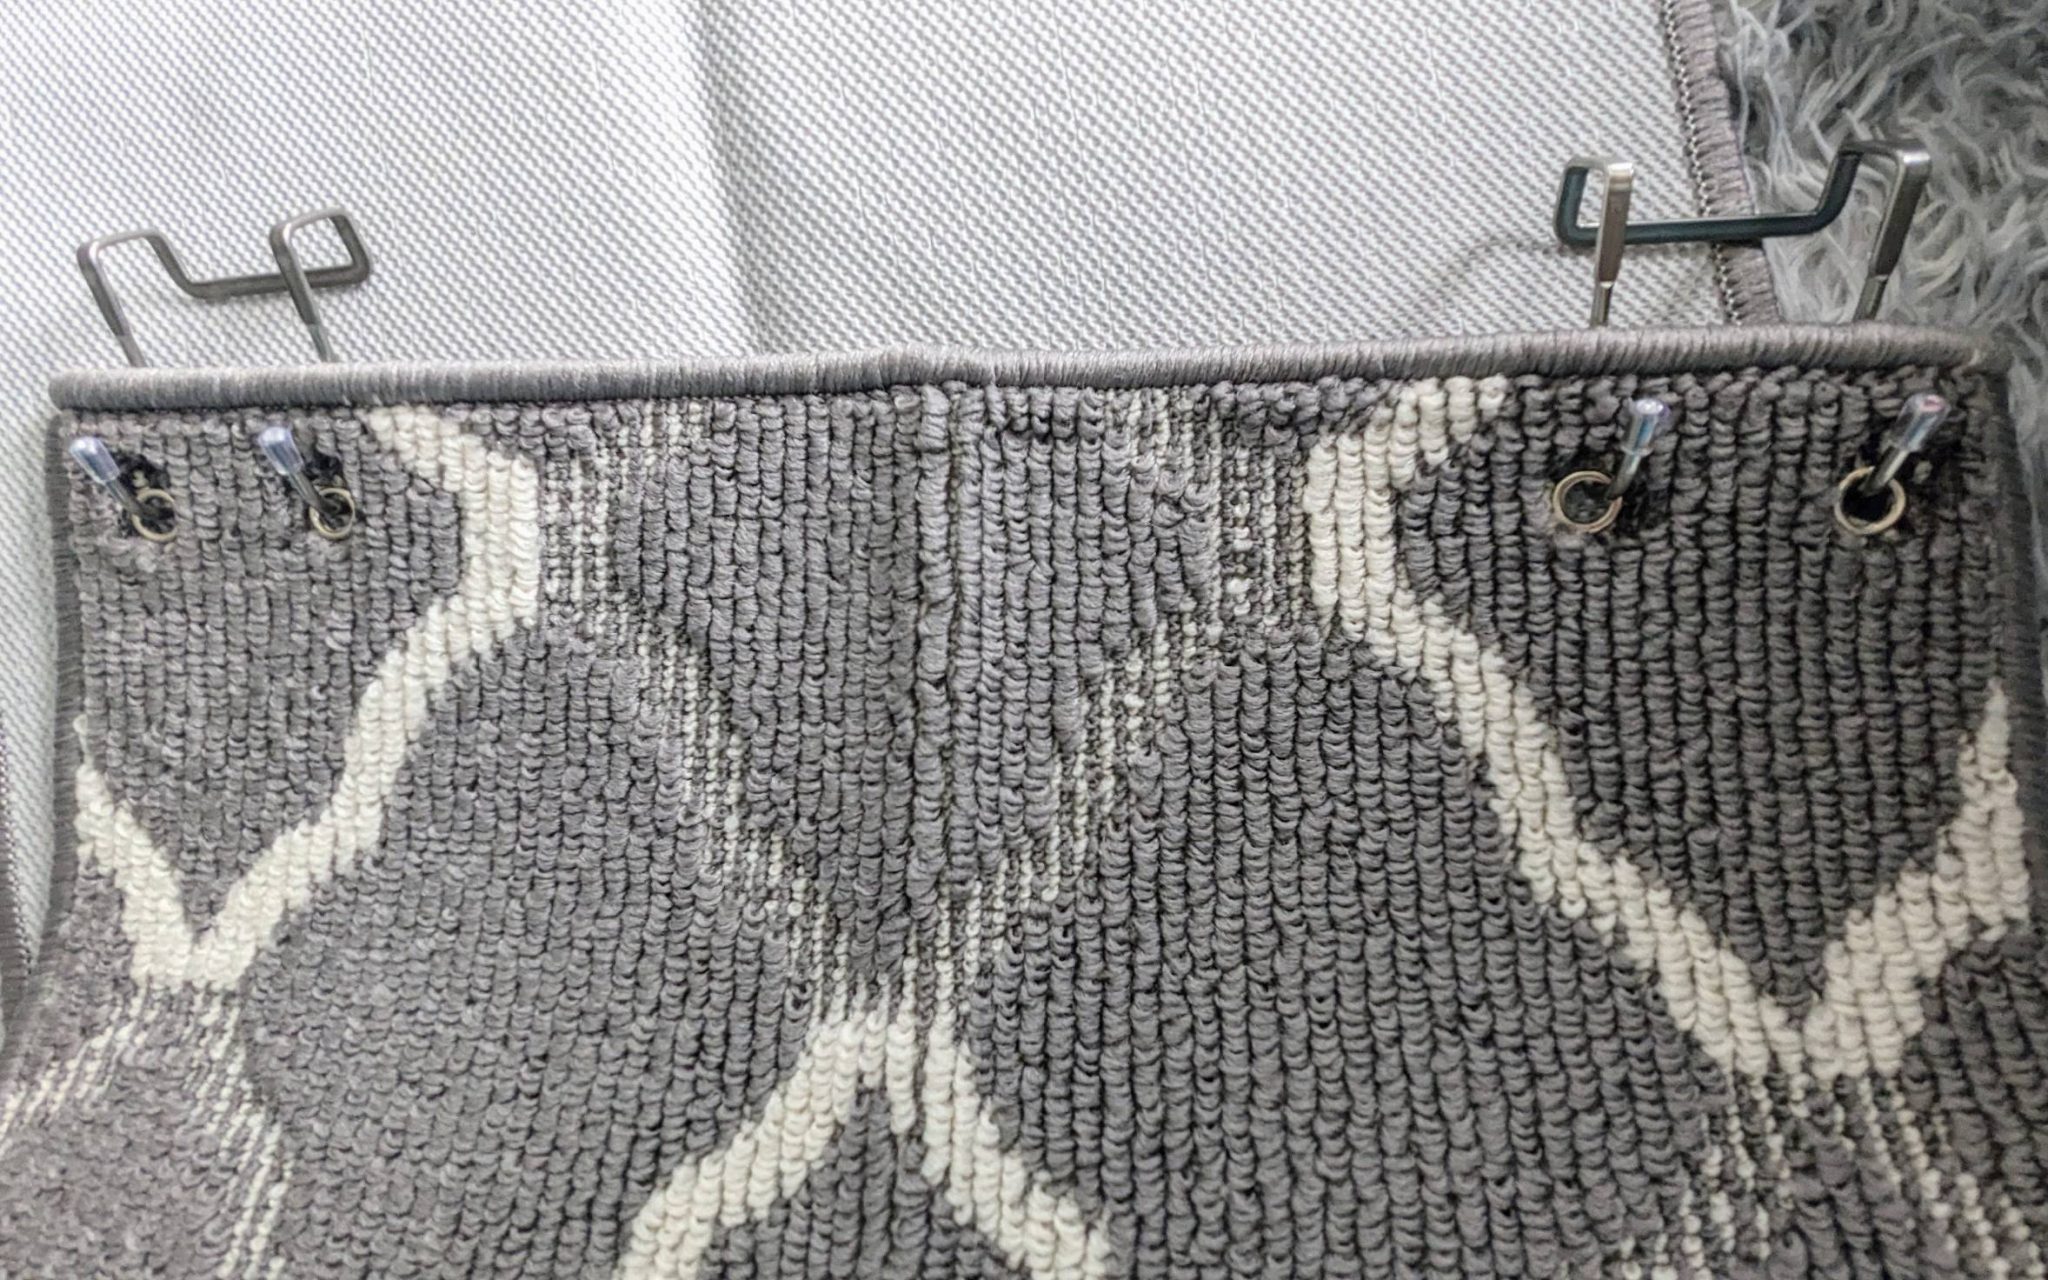
Place the hooks through the eyelet holes and you’re ready to hang your climbing rug! You can place some fabric under the hooks to prevent them from scratching the door.
Step 4
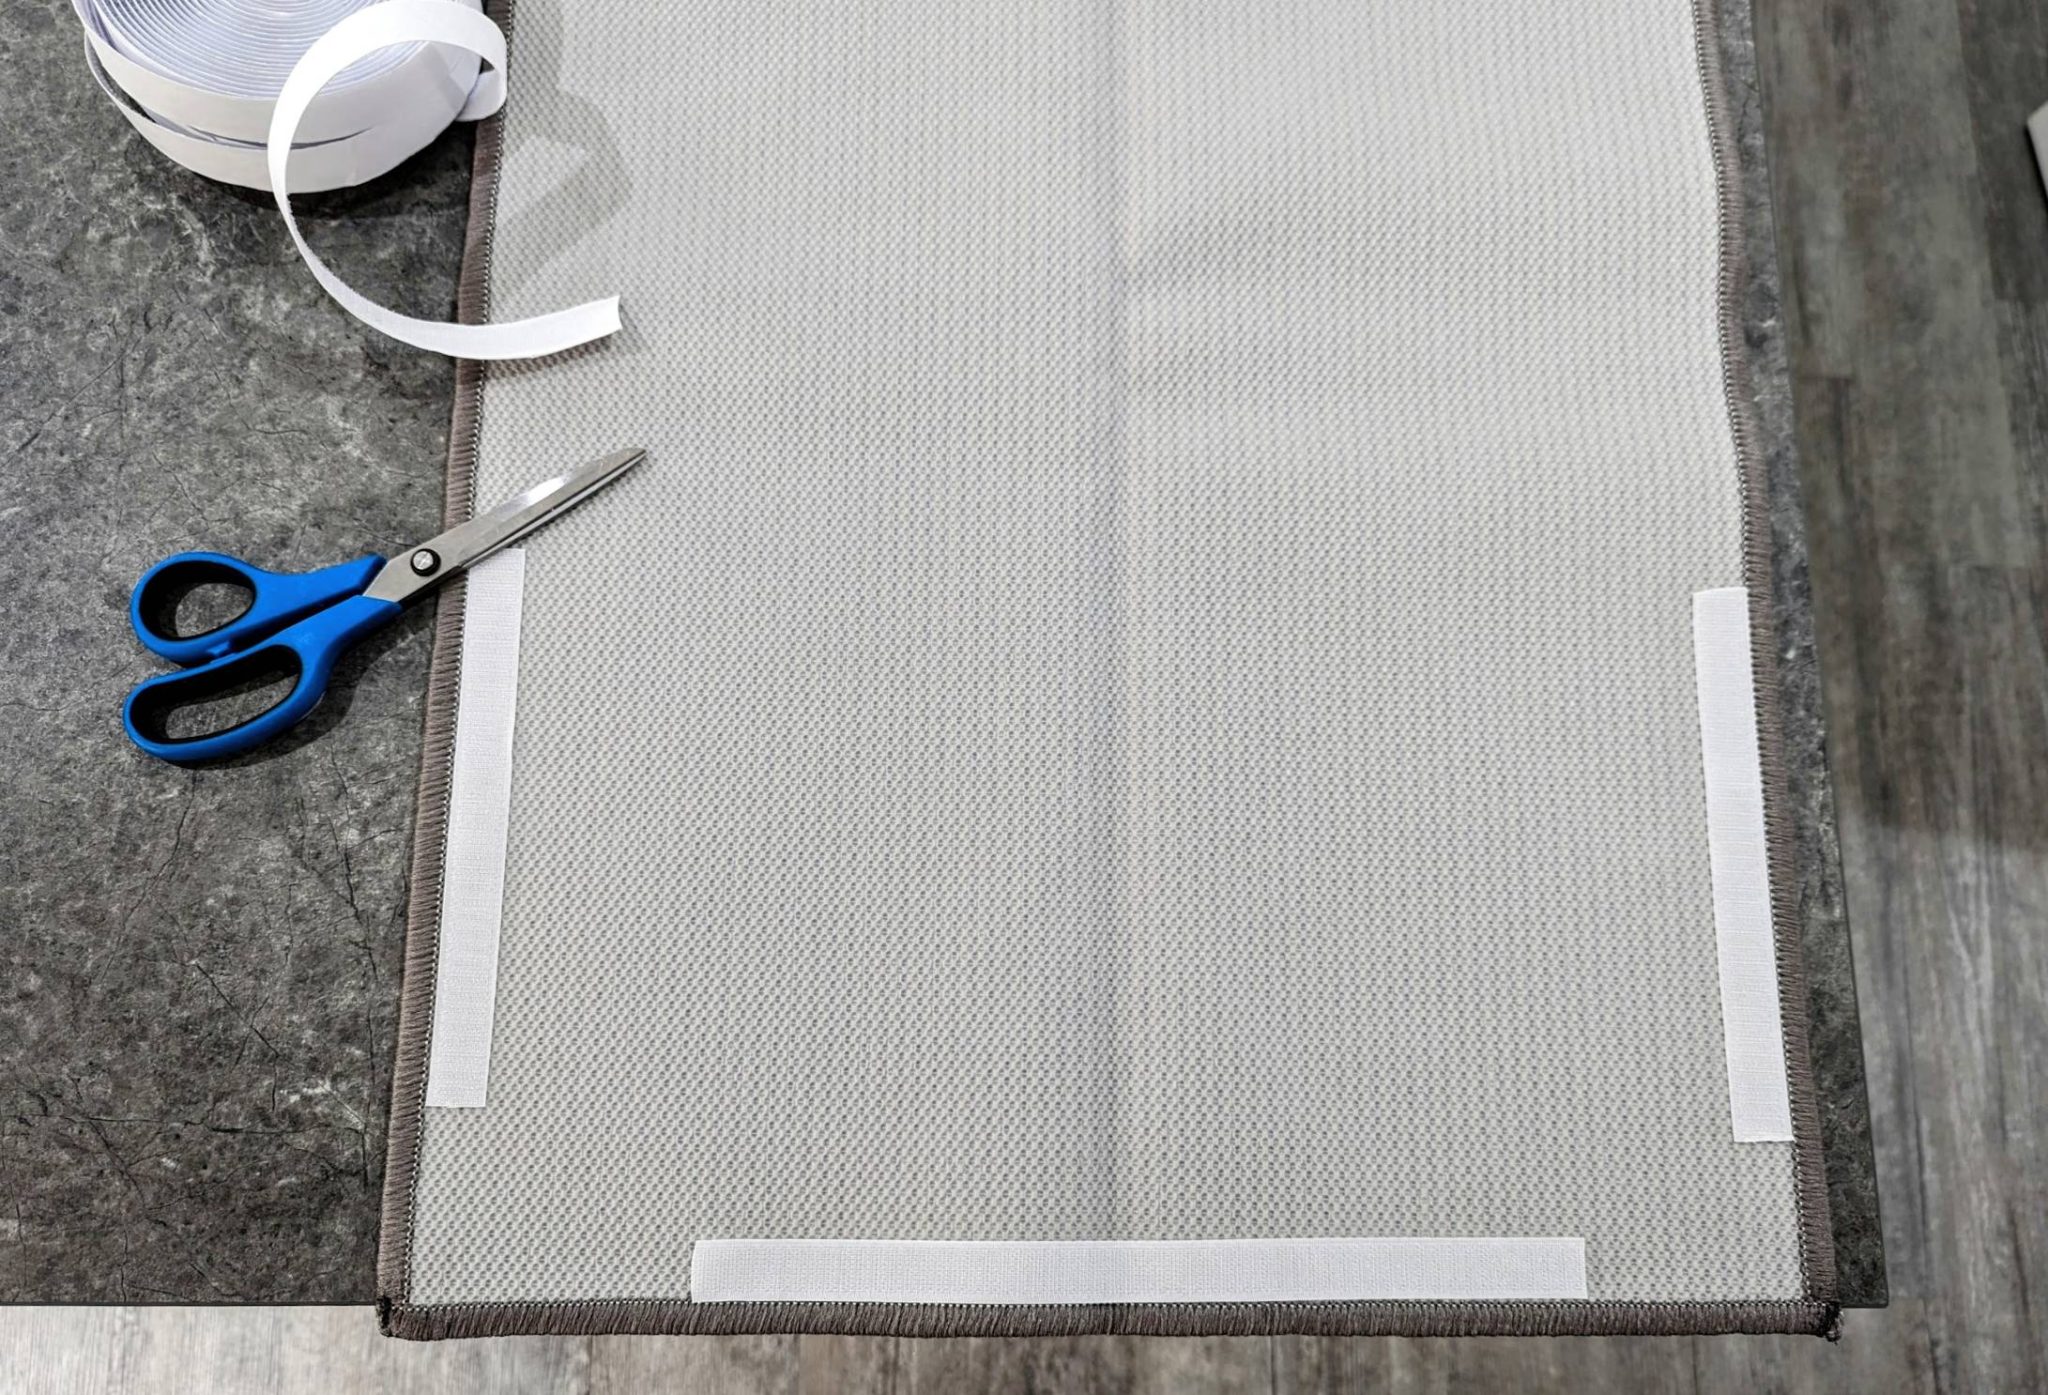
Hang your rug and attach Velcro strips to keep it from swinging around too much, and then wait for your cat to investigate—it won’t take long!
If you want to go all out, you can install some shelves above and beside the door to provide your cats with even more vertical exploration. This DIY project is incredibly easy, and your cats will love it! Plus, it’s pretty cheap to make, especially depending on where you buy your rug or what supplies you already have on hand.
2. DIY Affordable Cat Door Climber
| Difficulty: | Intermediate |
| Tools: | Drill |
| Materials: | Sisal rug, screw hooks, wire, brackets, shelf, doormats |
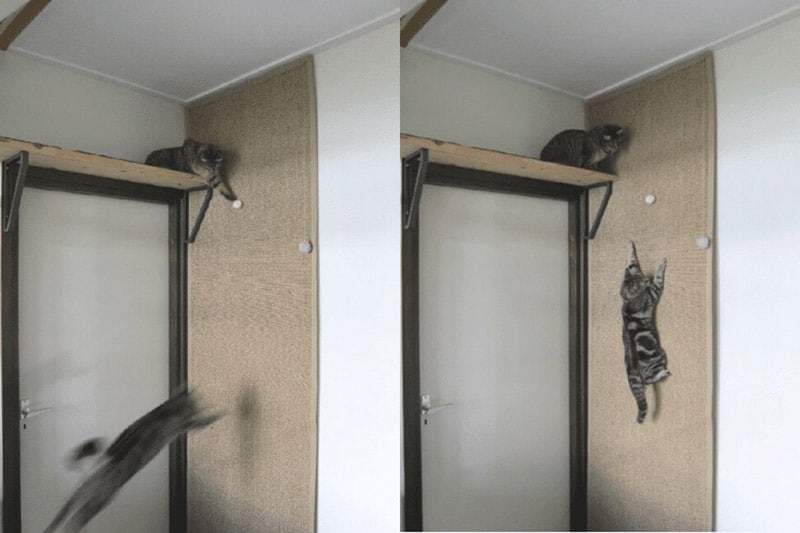
This sisal climbing wall appeals to your cat’s senses, and the clever little wall perch gives your other cats a resting place to watch whoever’s taking a turn on the wall next. The plan goes to great pains to help you make sure the wall can hold your cats’ weight—it says six screw hooks suffice for two cats, but your mileage may vary. A heavier sisal rug is preferable to prevent your cat from just tearing through the material, so keep that in mind when buying your supplies.
3. DIY Industrial Pipe Cat Climbing Wall
| Difficulty: | Expert |
| Tools: | Drill, pipe wrench |
| Materials: | Wood boards, painters’ tape, pipes & fittings to spec, thread-locking fluid, peel & stick carpet squares, sisal rope, fabric hammock (optional) |
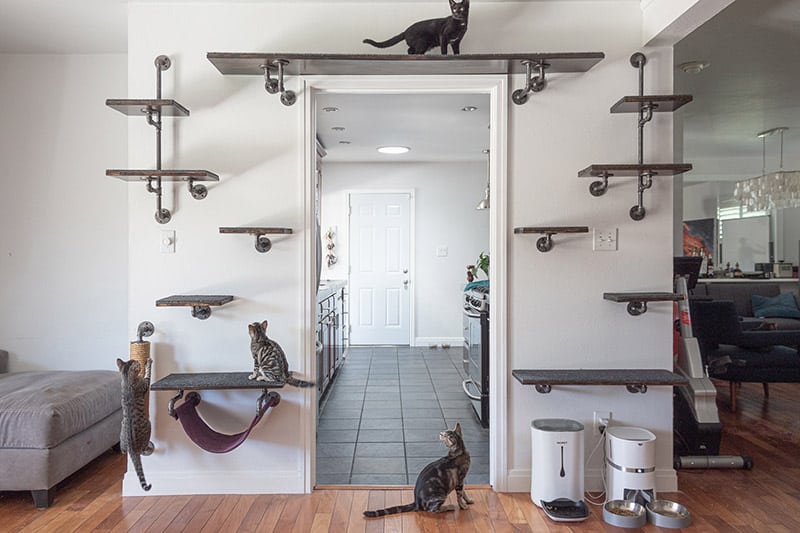
This climbing wall plan is made to be around your door instead of on it but can easily be adapted on a smaller scale to fit on the back of your doors and save valuable floor/wall space. You’ll need to plan out a layout first and then order your pipe and fittings to spec. That way, you can avoid having to cut any pipe, which is a huge pain. As an optional bonus, you can even order a little kitty hammock to integrate at the top or bottom for a hangout spot.
4. DIY Cat Climbing Wall
| Difficulty: | Intermediate |
| Tools: | Impact driver, stud finder, staple gun, jigsaw, craft knife, Kreg jig (optional) |
| Materials: | Plywood, brackets, screws, wood glue, bath mats |
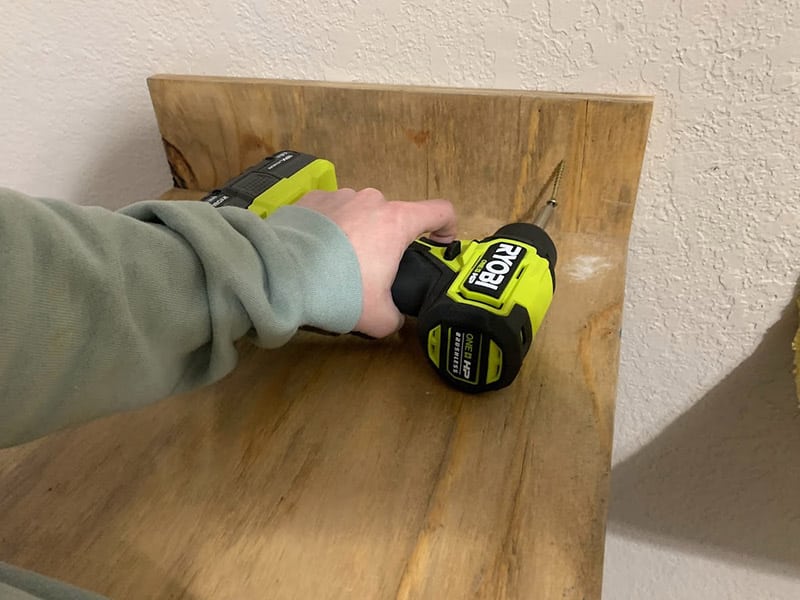
Rather than sisal, this DIY cat climber plan uses plush bath mats to provide an attractive texture. This plan adapts almost directly to doors, provided you use enough screws and that your door is sturdy enough to support the weight of the shelves. The plan is a treasure trove of info on cat shelves and goes into great detail about various types of floating, fake-floating, and more cat shelves you can try your hand at making yourself at home.
5. DIY Climbing Wall for Cats
| Difficulty: | Intermediate |
| Tools: | Drill, saw, stud finder |
| Materials: | Wood panels, oak board, spruce board, MDF board, wood slats, screws, fabric, foam |
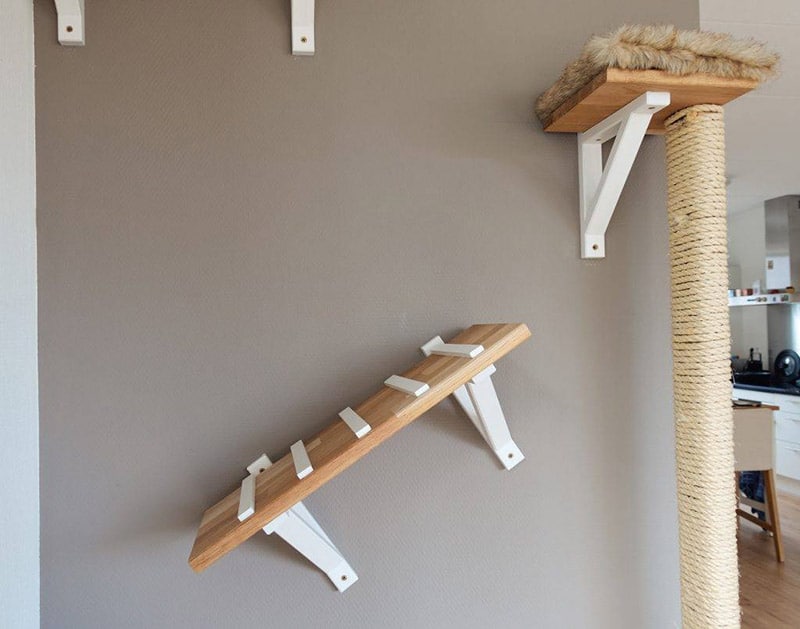
Looking for a more full-spectrum kitty workout that can fit on your door? This plan might be right up your alley. It provides instructions on how to make not only cat shelves at various interesting angles your cat will love, but sisal rope-wrapped monkey bar-like swing bars are included for serious kitty parkour sessions. Like other plans above, this is technically for walls but can be adapted for doors or a door/wall hybrid layout, depending on how much space you have.
6. DIY Cat Door Tree
| Difficulty: | Expert |
| Tools: | Jigsaw, craft knife, sewing machine, scissors, sandpaper, drill |
| Materials: | Wood boards, cardboard tubes, Styrofoam, fabric, upholstery foam, batting, screws, twine, Velcro, super/hot glue, white glue, paint (optional) |
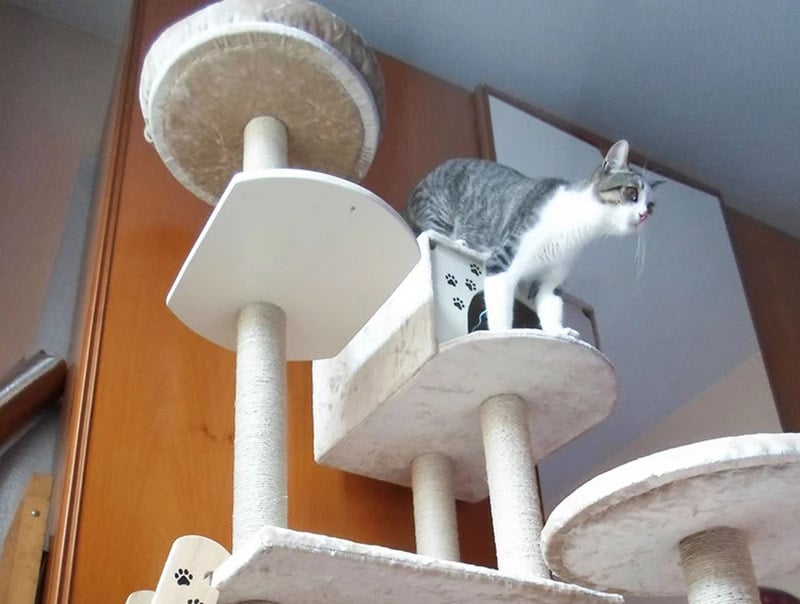
This is another DIY plan not designed for doors but is easily adapted for them. You simply take the basics of the plan and add more boards to secure the shelves to your door. Also, you’ll want to cut the wood to comfortably fit on the back of your door. It’s more of a shelf-style than a full-fledged standalone cat tower, in this instance. If you want extra credit, you could even add cat shelves next to the door for a more expansive network of cat furniture.
Conclusion
If your house is looking a little sparse on feline workout equipment, you can have a real field day with the plans detailed above. Even if you don’t follow them to the letter, all can be tailored to work with most doors and even expanded onto your walls for elaborate cat shelves that your kitties will go nuts for. Try your hand at one of these the next time you have a free weekend!
Featured Image Credit: Yanya, Shutterstock

