

Click to Skip Ahead
Like dogs, cats need a regular grooming routine to stay healthy. Brushing your cat is key, especially if they have long hair, but did you know you should also check your cat’s ears regularly?
This is to prevent ear infections, which can lead to other conditions if they aren’t treated properly. Here are five tips on how to care for your cat’s ears to keep them healthy.

The 6 Tips to Care for Your Cat’s Ears
1. Examine Their Ears Frequently
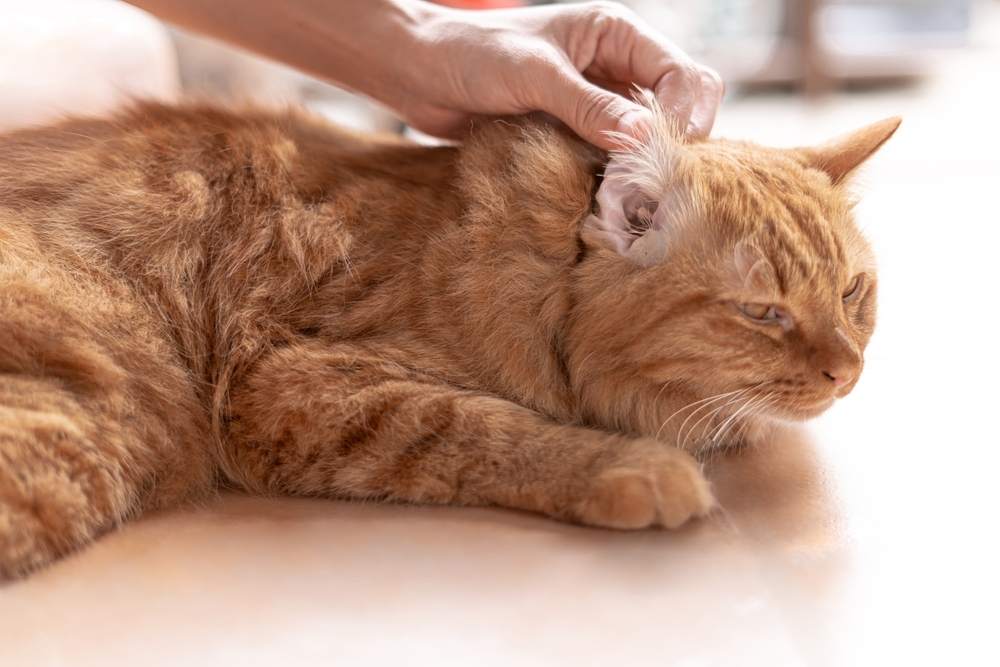
Every few days, visually inspect your cat’s ears for any signs of trouble. Check the outside of the ears for scabs, scratches, redness, or patchy fur. The outer ear, or pinna, should be clean and free of swelling, redness, discharge, or visible injuries.
Look into the ear canal and check for earwax, discharge, or swelling. Watch for signs that your cat’s ears are itchy or painful. These include shaking the head, head tilting, scratching, or vocalizing.
2. Use Your Nose
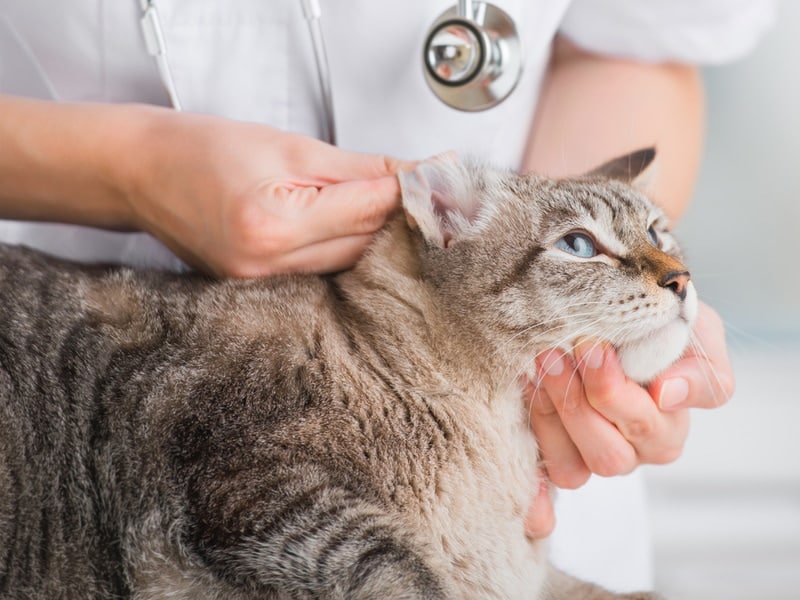
Healthy cat ears should never have an odor. When you look at your cat’s ears, also give them a quick sniff test. If you notice a foul or yeasty smell coming from your kitty’s ears, they could be dealing with an ear infection.
You can make an appointment with your veterinarian to confirm this condition. Ear infections can be quite painful and don’t get better without treatment. Catching the infections early can make the treatment easier and more successful.
3. Don’t Over-Clean the Ears
As confusing as it sounds, over-cleaning your cat’s ears can make them more vulnerable to infection. Most of the time, cat ears are naturally clean without our help. Cleaning the ears when they aren’t dirty adds moisture into the ear canal, which becomes a perfect breeding ground for yeast and bacteria.
Cleaning your cat’s ears once a month and drying afterwards should be sufficient to keep them clean and healthy. If you are needing to clean them more frequently, especially if discharge builds up after only a few days, see a veterinarian, as the ears may be infected.
4. Use the Right Cleaner
If you need to clean your cat’s ears, it’s essential to choose the right products to prevent more problems. Look for a feline ear cleaner, which is available over the counter or from your veterinarian.
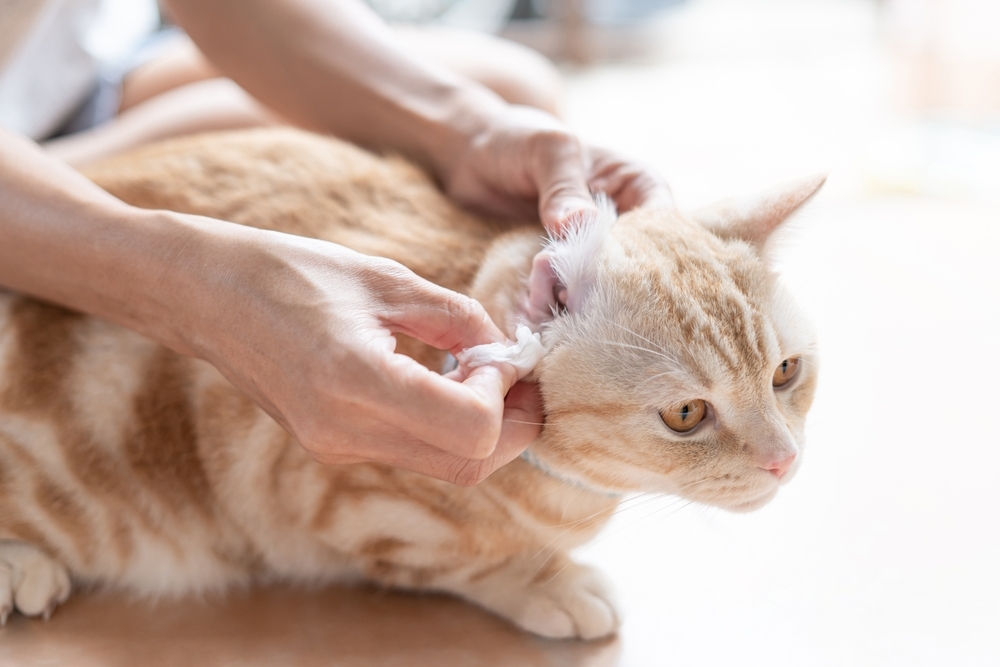
Avoid using water, alcohol, or hydrogen peroxide since they can be irritating to the ear. They can also be painful if the ear is swollen or ulcerated. In addition to a pet-safe cleaner, you’ll need cotton balls or gauze to wipe the ear. Don’t use Q-tips to clean your cat’s ears.
5. Clean Before Medicating
If your cat is diagnosed with an ear infection, your vet may prescribe a course of topical medication to treat the condition. You may also be instructed to clean your cat’s ears more frequently.
6. Prevent Ear Mites
Ear mites are one of the most common causes of ear problems in cats, and lead to itching and secondary infections. Luckily they are easily prevented with topical preventatives, as long as all pets in the house are up to date with treatment, the problem is easily solved.

How Do I Clean My Cat’s Ears?
We discussed the supplies you need for cleaning your cat’s ears earlier (cleaner, cotton balls, gauze,) but how do you actually get the job done?
- The first step is to ensure you and your cat are comfortable and safe. That means choosing a time when your cat is relaxed and rested, such as just after a meal. Go to a quiet room away from other pets and human family members.
- Wrap your cat loosely in a towel or ask a trusted (by the cat) person to help hold your kitty still. Ensure you have plenty of treats to reward your cat during the ear cleaning.
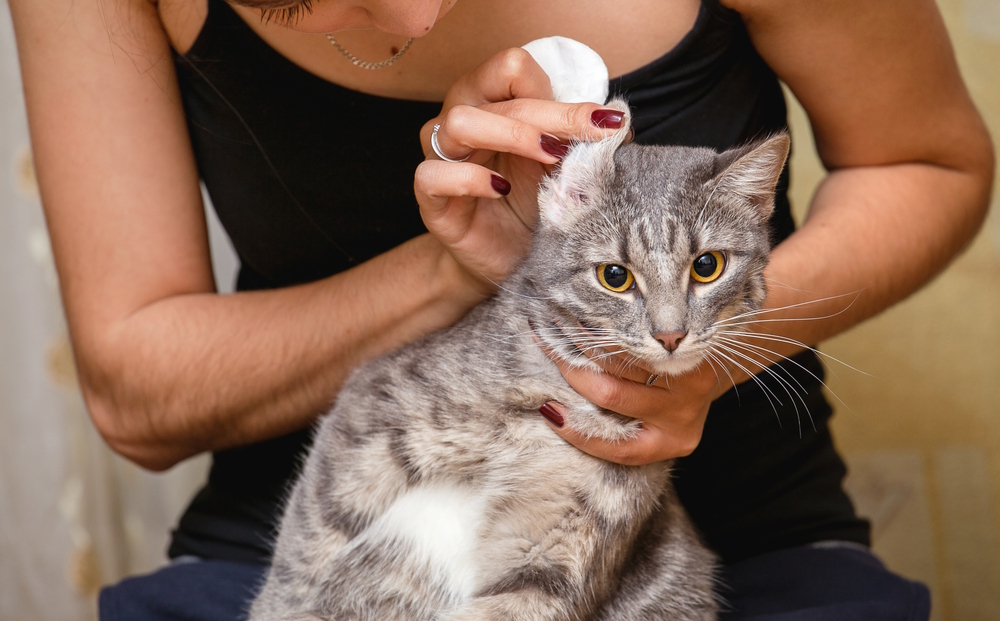
- Squeeze a small amount of cleaner into your cat’s ear and massage the base to work the liquid down into the canal. You can squeeze directly from the bottle or wet a cotton ball/gauze and squeeze it in that way.
- Let your cat shake their head and then use the gauze or cotton balls to wipe out the ear canal and outer ear. Don’t stick Q-Tips or anything else into the ear canal to prevent damaging the eardrum.
- Repeat the process until the ears are clean. Reward your cat with treats and apply medication if needed before you release your pet.
- Ideally, you should start teaching your kitten to accept ear cleaning and handling early. This will make the process easier once they’re grown.

Conclusion
Keeping your cat’s ears healthy isn’t a complicated process, but it requires you to pay attention. You can follow the five tips in this article to care for your cat’s ears as part of a regular grooming routine. Frequent ear inspections should help you catch any brewing infections early. If you notice signs of an ear infection, take your cat to the veterinarian as soon as possible.
Featured Image Credit: NONGASIMO, Shutterstock


