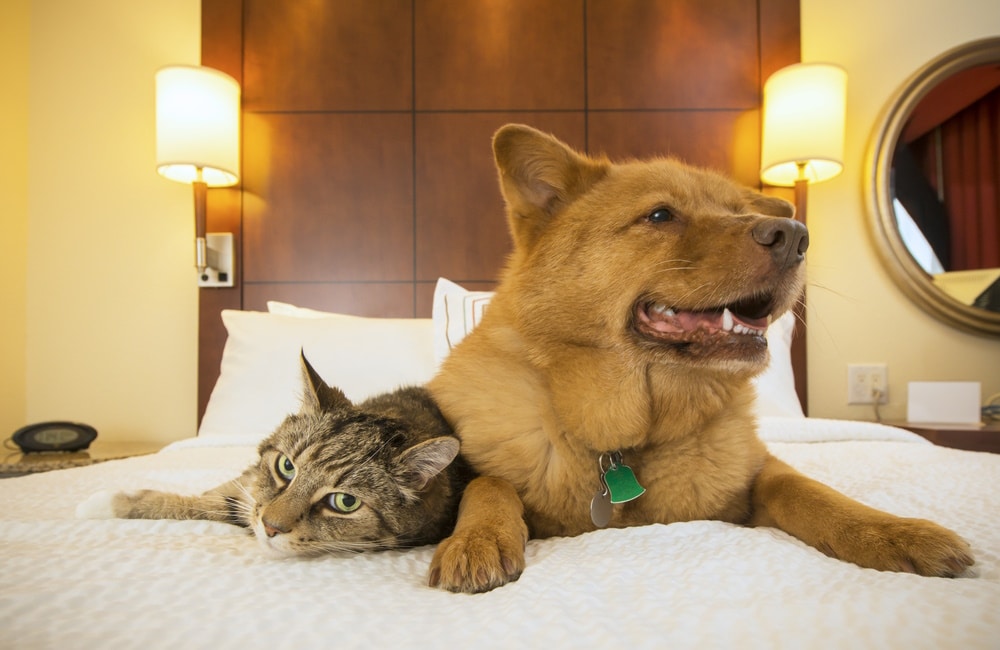
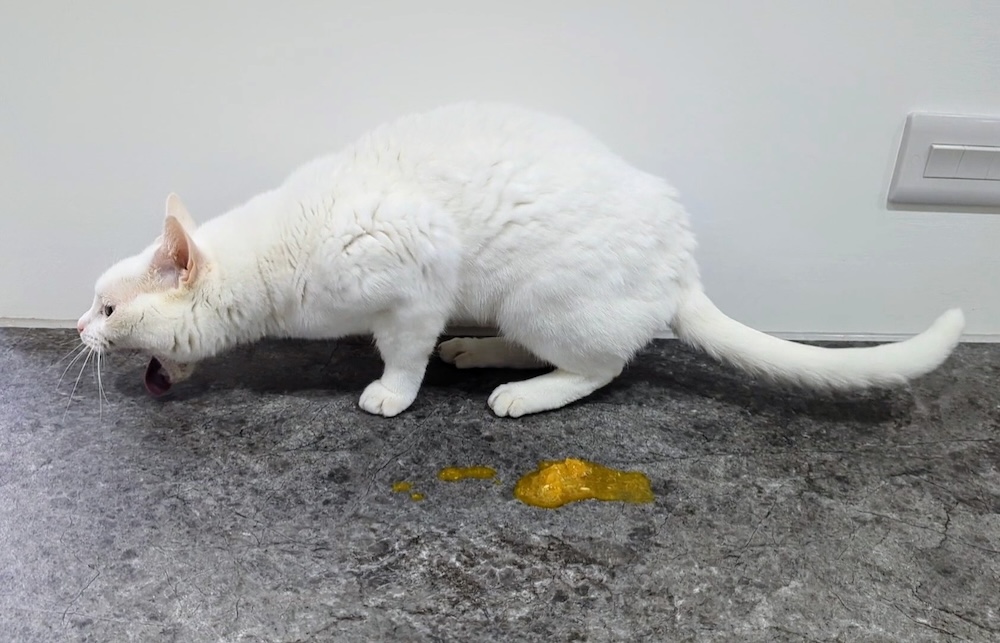
Craft Project: Create a Glitter Painting of Your Cat

Facebook
Twitter
LinkedIn
Pinterest
Email
This glitter painting craft project was recently showcased at MarthaStewart.com, and is an easy project for memorializing your favorite pet. It’s also a great family project for you and your kids. Think of it as paint-by-numbers … with glitter.

I’ve included a summary of the instructions below. Go to Martha’s Glitter Painting Site for complete instructions and an easy upload tool that will prepare your photo for glittering.

Tools and Materials

Step 1

Upload and Prepare Photo

Using the photo-conversion tool, upload a picture and print it onto card stock using an ink-jet printer.

Step 2

Prepare Glitter and Apply Glue
Prepare glitter: Pour small amounts into separate baking cups. Set out a few extra cups for blending more hues as needed.

Apply craft glue from a fine-tipped bottle to a color field (it doesn’t matter where you begin). If the area is large, outline it first, then use the tip to fill in the space.

Step 3

Add Glitter
Sprinkle glitter onto the glued area, covering it completely.

Step 4

Remove Excess Glitter
Remove excess glitter by standing the panel upright and tapping it lightly on the work surface.

Step 5

Save Excess Glitter
Curving the scrap paper like a funnel, pour extra glitter into the cup.

Step 6

Blow Away Stray Glitter and Finish Painting
Blow stray glitter away using air duster. (This won’t disturb glued sections.) Repeat process, covering each remaining color field. You can correct mistakes by gluing and glittering again right over affected areas.

Choose a satin ribbon that’s as wide as the panel is thick. Cut a length long enough to wrap around panel’s edge; affix it with paste-style glue.

Ready to start? Go to Martha Stewart’s Glitter Crafts Center and Upload a Photo.

Get Catster in your inbox!

Stay informed! Get tips and exclusive deals.

Let Catster answer all of your most baffling feline questions!

Starting at just
$14.95!

Related

Follow Us

Shopping Cart