
Click Below to Skip Ahead
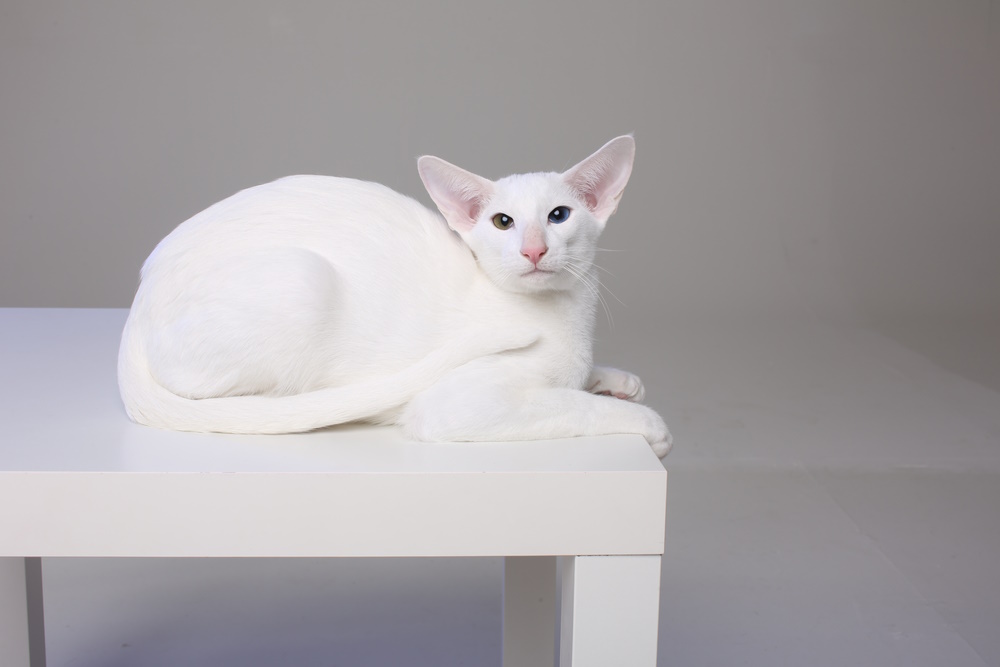
The Oriental Shorthair has been compared to actor Adam Driver (“Star Wars”) and Spock from “Star Trek”. When you see one, you can see why these comparisons have been made, but the Oriental Shorthair is so much more than a look-alike!
Breed Overview
Height:
9–11 inches
Weight:
5–12 pounds
Lifespan:
12–15+ years
Colors:
Almost every color and pattern
Suitable for:
Families or singles with or without pets
Temperament:
Playful, active, affectionate, cuddly, intelligent, vocal, attention-seeking
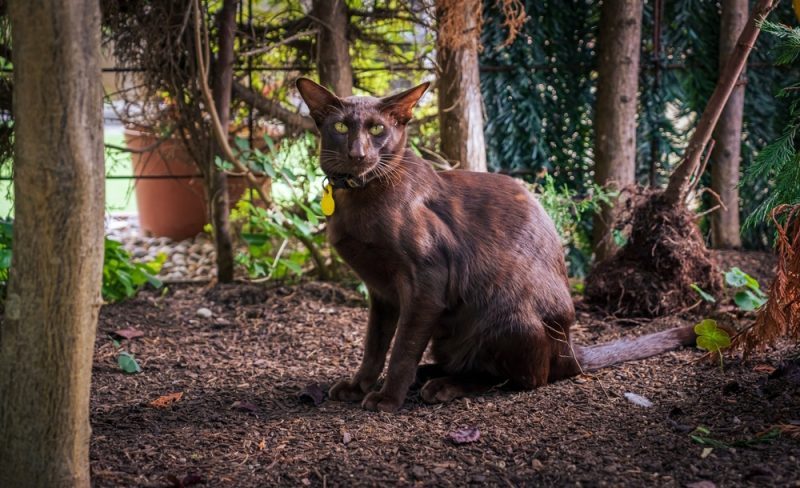
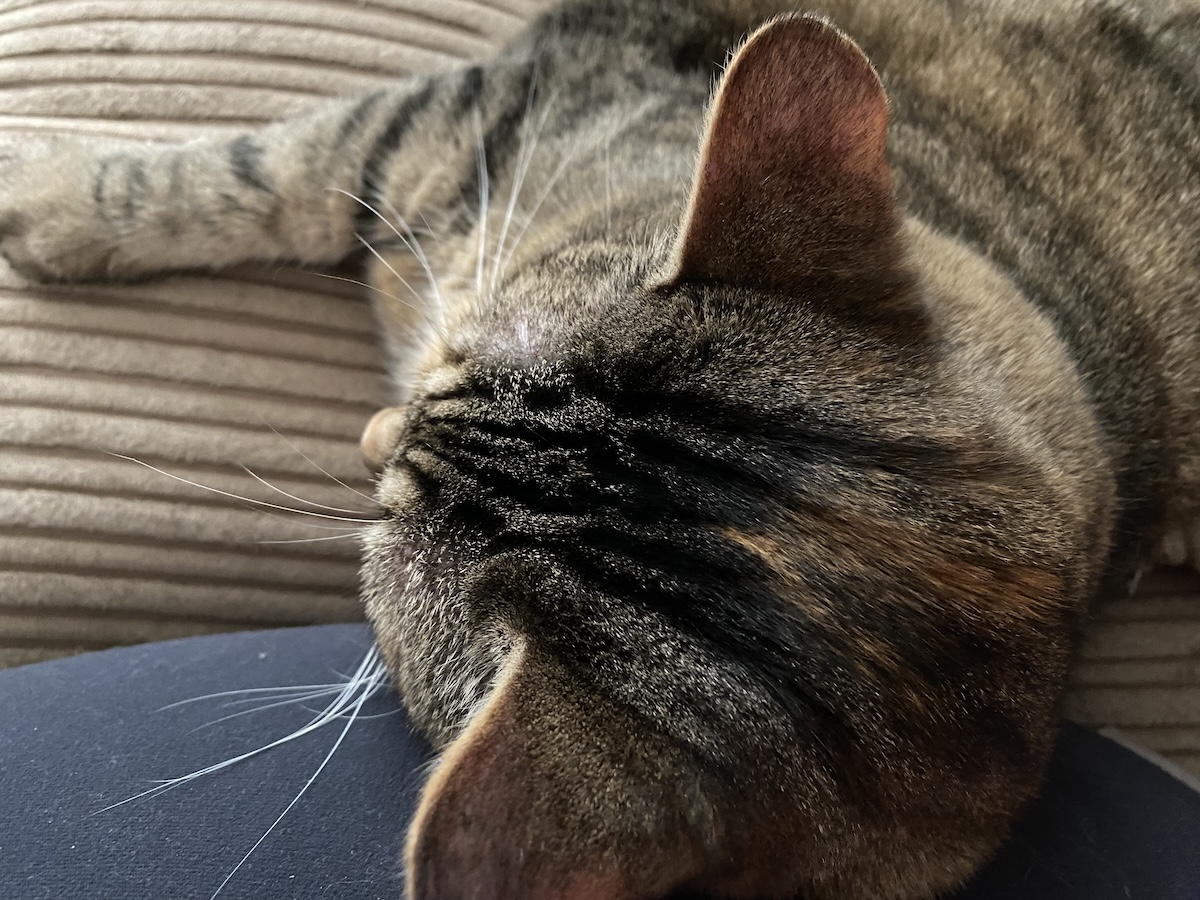
Once you’ve seen an Oriental Shorthair, there’s no mistaking them for any other breed! Their body is slender and relatively angular in appearance. But they are especially famous for their enormous ears and prominent nose!
This breed is known for being active and energetic while also having an affectionate and loving nature. So, if you are considering getting an Oriental Shorthair, keep reading to find out if they will be a good fit for you.
Oriental Shorthair Characteristics

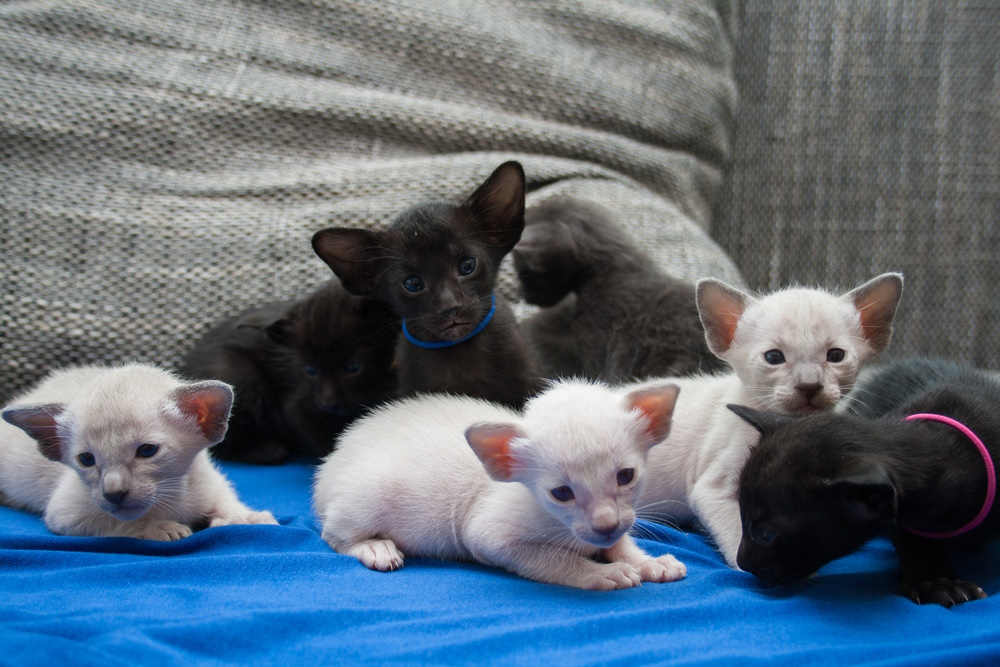
Oriental Shorthair Kittens
An Oriental Shorthair cat is not the most common breed, so finding a reputable breeder might require traveling. Once you find someone suitable, have a conversation with them about your expectations and their breeding practices. You should ask them questions and basically interview them to ensure that they’re qualified.
Kittens should stay with their mothers and littermates until they are between 12 and 14 weeks old. During this time, they learn essential socialization skills that will help them adjust to their new home.
While adopting a cat is always a great option, Oriental Shorthair cats are not typically found in local animal shelters or rescue groups. Therefore, if you’re interested in this particular breed, you might need to search for a breeder.
Oriental Shorthair Breed Origin & History
Oriental Shorthairs were developed in England in the 1950s, after breeders selectively bred Siamese cats with Russian Blues, British Shorthairs, Abyssinians, and regular domestic cats. They eventually found their way to North America in the ‘70s.
Oriental Longhair cats were also developed, and both breeds were awarded championship status by the Cat Fanciers Association in 1977. This is also when the various colors and patterns emerged. In fact, as each color was developed, they were named as a separate breed. For example, there was the Havana, Foreign White, and Oriental Spotted Tabby.
However, there were so many colors created, it became too cumbersome, so all non-pointed cats are now grouped under the Oriental Shorthair (or Longhair) category.

Temperament & Intelligence of the Oriental Shorthair
The Oriental Shorthair is considered the most intelligent of all breeds. They are outgoing and playful and love being the center of attention.
Due to their affectionate nature, they are often referred to as Velcro cats, as they tend to follow their favorite people around. One downside of this closeness is that they often suffer from separation anxiety, which means you can’t leave them alone for extended periods. They’re also incredibly vocal cats, which is not surprising, considering their Siamese ancestry.
Are These Cats Good for Families?👪
The Oriental Shorthair is an excellent choice for families looking for a pet. They are known for being highly active and playful, which makes them a perfect companion for children who enjoy spending time with a pet.
These cats bond closely with everyone in the family and enjoy snuggling up on warm laps for a cuddle. However, always teach your children how to interact appropriately with animals and to be gentle with them at all times.
With proper care and attention, the Oriental Shorthair can be a wonderful family companion.
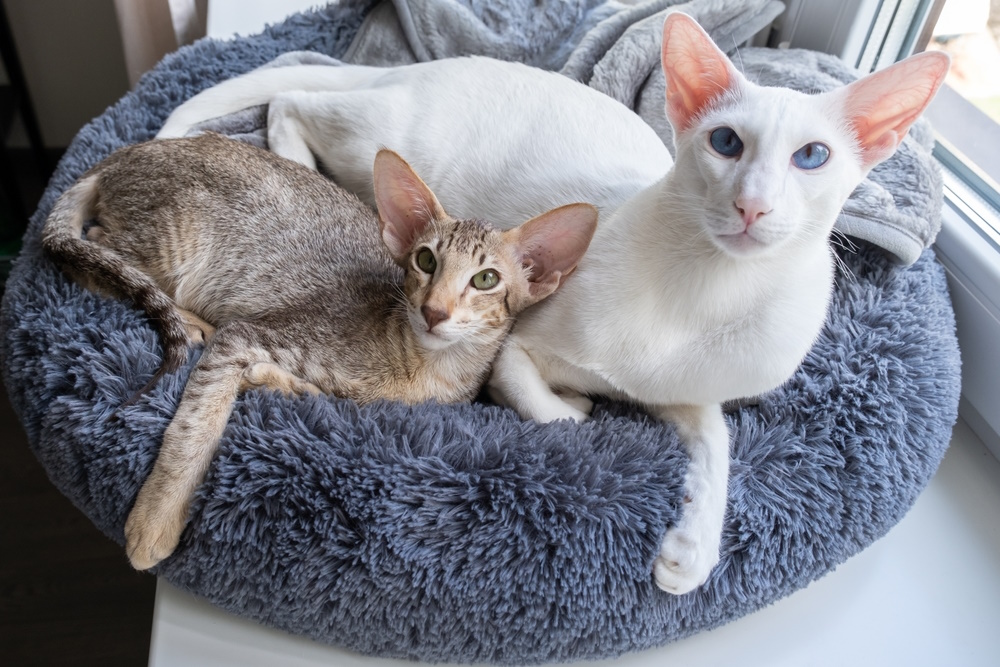
Does This Breed Get Along With Other Pets?
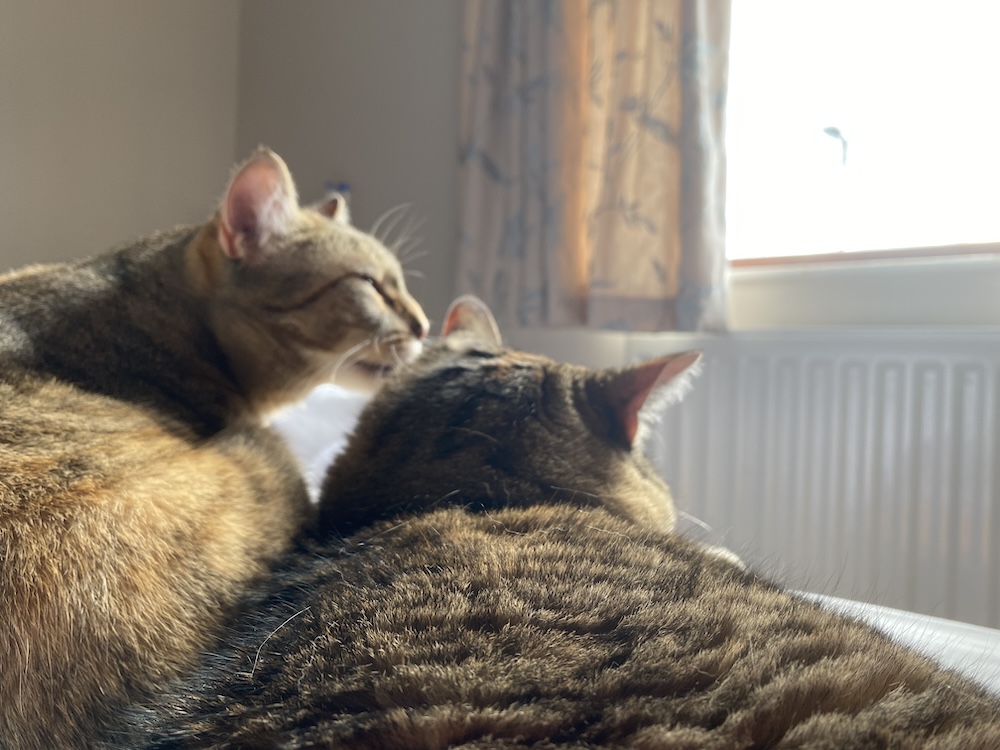
The Oriental Shorthair is friendly toward other pets, particularly felines with a similar disposition. If you’re planning to adopt this breed, it may be beneficial to get two so they can keep each other company, as they are prone to separation anxiety.
This cat is also generally compatible with dogs, as long as the canine has a proven track record of getting along with felines.
Things to Know When Owning an Oriental Shorthair
Food & Diet Requirements🐡
You should aim for high-quality cat food, so chat with your vet about the best food for your Oriental Shorthair. There are so many cat food options to choose from!
Feeding your cat at least twice a day is recommended, but some Oriental Shorthairs may require three meals a day. Additionally, ensure that your cat always has access to clean and fresh water. Consider purchasing a cat fountain to encourage your cat to drink more.
Exercise🐈
Cats generally get their exercise through play, though some cat owners love training their cats to be on a harness and leash so they can take them for meandering walks.
You’ll also need to provide enough interactive toys and teaser wands for one-on-one playtime. Catnip toys also tend to go over well! You may or may not want to try cat shelves, but you definitely need a cat tree so your pet can scratch, sleep, and play.
Training🧶
Some cats are not interested in being trained, but the Oriental Shorthair breed is an exception. They are highly intelligent and have a close connection with their owners, which makes them more responsive to learning new things. If you decide to train them, make sure only to use positive reinforcement.
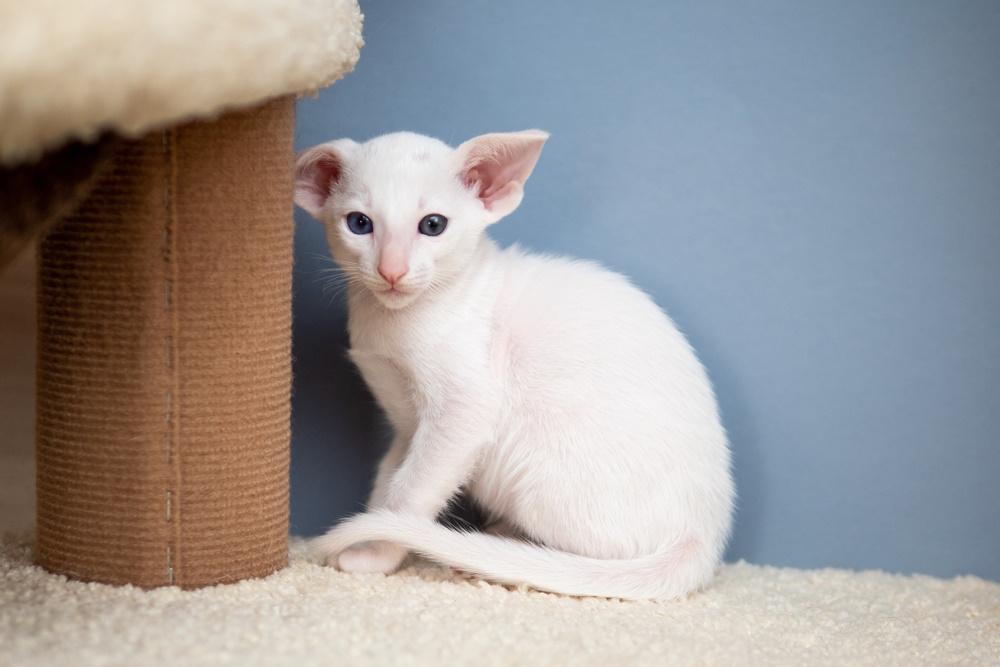
Grooming✂️
Taking care of an Oriental Shorthair’s grooming needs is relatively easy. Their short coats only require brushing once a week to remove loose fur. However, due to their notably large ears, you’ll need to check them weekly and clean them if necessary. Keeping their nails trimmed and providing a good scratching post is also essential.
Additionally, brushing your cat’s teeth is vital, but you can consider dental treats as additional oral care options.
Health and Conditions🏥
The Oriental Shorthair is a generally healthy breed, but like all cats, they are prone to certain health conditions.
- Progressive retinal atrophy
- Crossed eyes
- Amyloidosis
- Pica
Male vs. Female
Oriental Shorthairs can reach 9 to 11 inches in height and weigh between 5 and 12 pounds. Typically, female cats tend to be smaller, weighing 5 to 8 pounds, while males are larger at 8 to 12 pounds.
There are a few general differences in behavior between male and female cats. The females are usually more independent and vocal, while the males tend to be more affectionate and calmer.
However, a cat’s temperament is primarily influenced by their genetics and the way that they are treated throughout their lives.

3 Little-Known Facts About the Oriental Shorthair
1. They Have Been Nicknamed “Ornamentals”
Since the Oriental Shorthair comes in practically every color and pattern (over 300 colors) available for felines, they have been called, “Ornamentals,” and, “Siamese in designer ‘genes.’”
2. The Oriental Shorthair Is Thought to Be Hypoallergenic
Of course, there’s no such thing as a completely hypoallergenic cat, but the Oriental Shorthair does produce less of the allergen (Fel d 1 protein) responsible for causing human allergies. This should make them easier than other breeds to live with for allergy sufferers.
3. The Oriental Shorthair Tends to Honk Instead of Meow
While these cats tend to be chatty like their Siamese cousins, some of them make a sound that’s been described as a honk or likened to a squeaky toy.

Final Thoughts
The Oriental Shorthair is a remarkable breed that is visually striking, highly intelligent, and affectionate. They make wonderful family pets and get along equally well with children and other animals. These cats are also known to greet visitors with great charm and curiosity.
While they may resemble a Vulcan and sometimes honk instead of meow, the Oriental Shorthair is a fun and sweet cat that could be the perfect feline companion for you!
Related Reads:
- How Big Do Oriental Shorthair Cats Get? Size & Growth Chart
- 10 Most Vocal Cat Breeds (With Pictures)
Featured Image Credit: CrisMC, Shutterstock

