

Cats and blinds aren’t a great mix, as any cat parent knows. While cats may enjoy batting at dangling cords or trying to get their heads through the slats to see what’s on the other side, the experience is less pleasant for their parents. But how can you keep a feline away from your blinds?
Is there a way to cat-proof blinds? There are a few ways to keep your blinds safer from your furry friend! Have a look at the seven helpful tips below and try one (or all) of them out today!

The 7 Tips to Cat-Proof Blinds
1. Hide the Cord
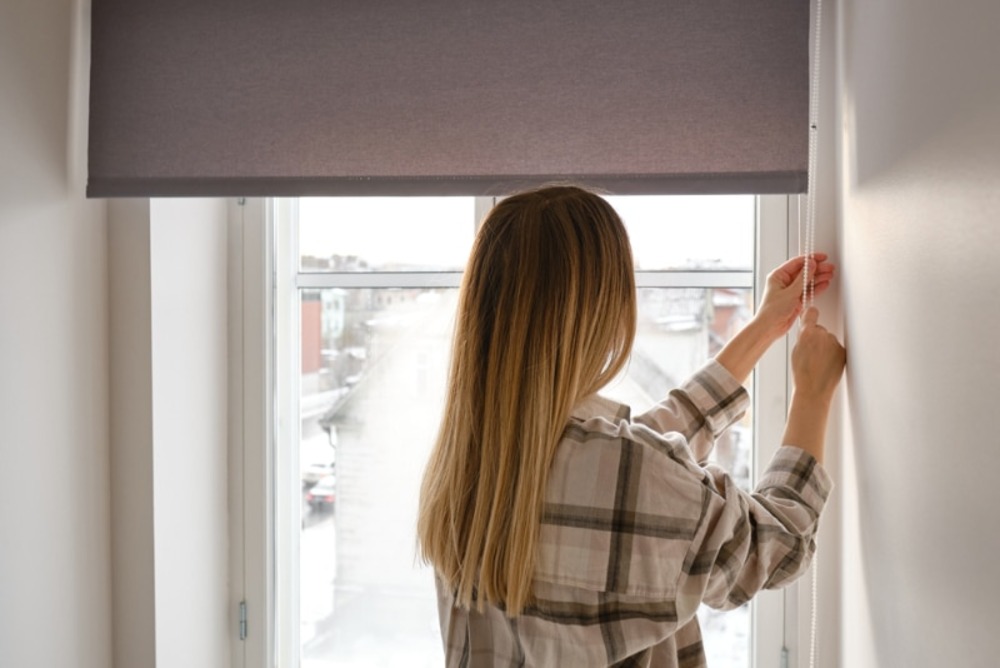
If your cat is mainly interested in the blinds because of the cord that raises and lowers them, the best way to cat-proof them is to simply hide the cord. It isn’t surprising your kitty would be going after the cord; the cord resembles cat toys in a major way! But it can be a safety hazard, so you want your cat to avoid it. Try putting a hook on the wall next to the blinds, then wrapping the cord around it. This will get the cord out of the way, and hopefully, it will be a case of out of sight, out of mind for the cat.
Alternatively, you could simply remove the cord or invest in cordless blinds.
2. Try to Deter the Cat
If your pet is interested in the blinds, you can use a deterrent spray to persuade them to stay away. Deterrent sprays smell like something a feline doesn’t like, so it usually encourages cats to avoid whatever it is sprayed on. However, these sprays don’t work for all felines. Sometimes, these sprays have the opposite of the intended effect, and kitties enjoy whatever the scent of the spray is rather than being repelled.
If this method does work for your cat, though, just spray the blinds according to the instructions on the bottle and repeat as necessary until your cat loses interest in the blinds altogether. Importantly: this spray goes on objects, it is not sprayed at your cat!
3. Apply Double-Sided Tape
Did you know that most cats don’t like the feel of the sticky side of tape? Much in the way they don’t seem to like touching aluminum foil, felines aren’t fans of how tape feels on their paws. So, your solution to keeping your pet away from the blinds could be as simple as placing some pieces of double-sided tape on the blinds. You can stick them in inconspicuous spots so they don’t ruin the look of the blinds, and the next time the cat tries to get their paws on your blinds, they should be greatly deterred by the stickiness. Of course, you’ll need to replace the tape once it loses some of its stickiness, but this is a quick way to cat-proof your blinds!

4. Set Up a Cat Curtain
Does your cat try to lunge through the blinds to see outside? Then a cat curtain might be the answer! What is that? All you need to do for this is keep your blinds semi-raised, then install a curtain or tension rod with a curtain beneath them. This way, your pet can stick their head through the curtain whenever they want to see outside while you still get to maintain your privacy. It’s a relatively easy fix for the problem.
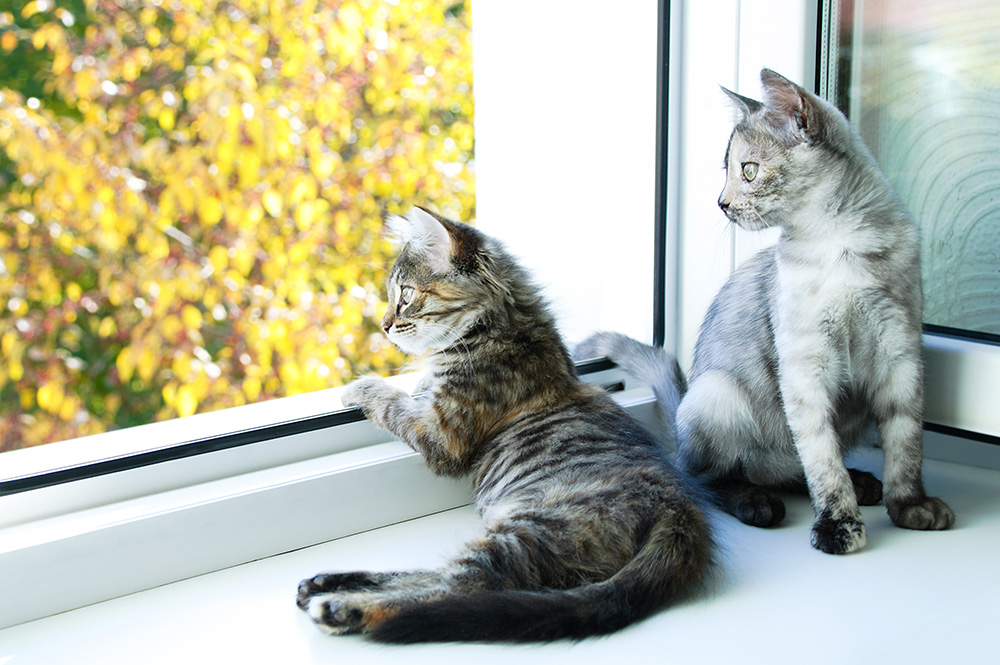
5. Give the Kitty a Window All Their Own
If your cat is more interested in the window behind the blinds and isn’t simply playing with the blinds for fun, try giving them a window all their own. Find a window in your home where it doesn’t matter if there aren’t blinds, then move anything around the window that could be easily broken by them or otherwise unsafe for felines. Hopefully, once they realize there’s an easily accessible window, your cat will avoid the ones with blinds. Of course, it’s just as likely that your cat will ignore the window that’s easy to look out of, but giving them their own window is still worth a try!
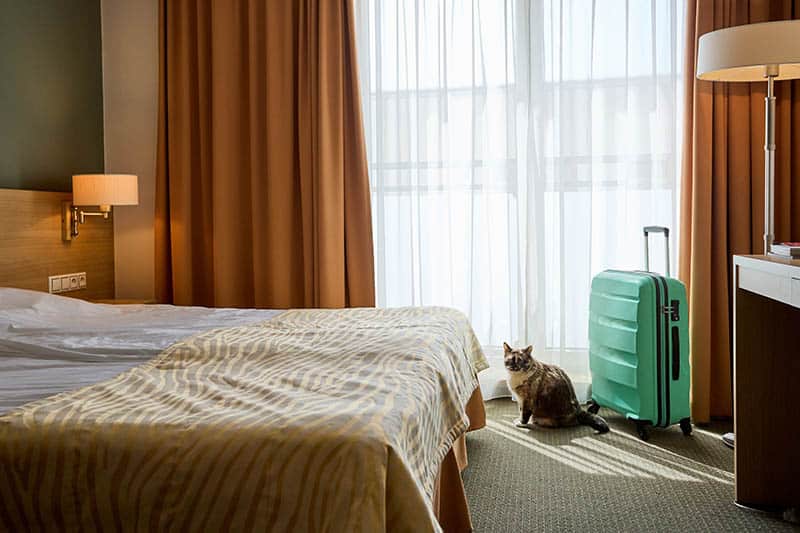
6. Make the Window Ledge Unattractive
These could also work for kitties trying to get through the blinds to the window. If all your cat wants is to reach the window ledge to see what’s out there, you could try making the ledge unattractive to them. Try putting tall plants (cat-safe plants!) on the ledge, use deterrent spray there, or place some double-sided tape down so they won’t want to walk there. However, do not put breakable things on the ledge because, chances are good, your cat will simply push them to the floor.
7. Try Different Blinds
If all else fails, you may need to go with different blinds than what you currently have. There are many types of blinds out there, all of which might work better with a feline in the home. Flat blinds won’t have a way for your cat to get through and could prove enough of a barrier that your pet stays away. Vertical blinds allow you to keep some space between the slats so the cat can see out, and cordless blinds are perfect for felines only interested in the swinging cord. Try out another kind of blind if none of the tips above work!
Conclusion
Felines are naturally inquisitive, and blinds are incredibly tempting to many of them. Since your cat messing about with your blinds can damage them or even injure your pet, cat-proofing them is an excellent way to keep your cat away from where it shouldn’t be. Most of the ways to cat-proof your blinds are relatively simple, so they shouldn’t take long to do, and hopefully, one (or more) of these ways will deter your cat!
See also:
- Best Cat-Proof Blinds Durable Enough to Last – Reviews & Top Picks
- How to Cat Proof a Guinea Pig Cage: Effective Tips
Featured Image Credit: TalyaPhoto_Shutterstock

