

Click to Skip Ahead
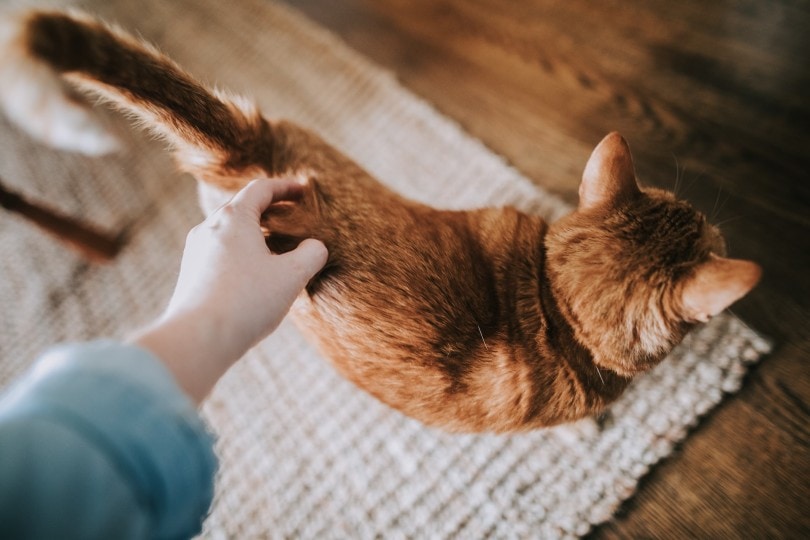
Many studies show the benefits of owning cats, but they can come with a few risks, too. There are certain illnesses (called “zoonoses”) that humans can unwittingly catch from their cats. Some of these infections are more well-known, such as “cat-scratch disease” or toxoplasmosis, but there are also certain worms that cats can pass on to humans, including tapeworms.

What Tapeworms Can Cats Get?
Several different species of tapeworms can infect our pet cats. Each has its own different life cycle, and the illnesses that they cause are also different.

- Dipylidium caninum
The most common tapeworm to infect cats in the US is called Dipylidium caninum, which is carried by infected fleas.
Cats catch the worm when they groom themselves to remove fleas, and end up swallowing the fleas as part of the grooming process. The worms then grow in the gut and release eggs in the feces. These eggs are eaten by flea larvae and stay there as the larvae mature into adult fleas, ready to be eaten by another cat or dog.
If your cat is infected with Dipylidium caninum, you may see small white segments of the worm in their stool or around their bottoms, which look a little like pieces of rice. These are loaded with eggs to infect other animals. Your cat may also be itchy around their bottoms.
- Echinococcus species
The two most common Echinococcus species in the US are Echinococcus granulosus and Echinococcus multilocularis. They more commonly infect dogs or wildlife such as foxes or coyotes, but they can infect cats, too.
Cats may catch these worms by eating the meat from infected animals. This might be rodents (for E. multilocularis), or cattle and sheep (for E. granulosus). The worms grow in the gut and then shed their eggs into your cat’s stool. Unlike Dipylidium caninum, these eggs are microscopic, so you will not see them in your cat’s stools.
Often, these infections have no symptoms in cats, but they can still spread worm eggs. In rare cases, cats may become unwell from an Echinococcus infection. This needs diagnosis and treatment by a veterinarian, so if you are concerned then you should take your cat to a vet.
- Taenia taeniaeformis
There are many different species of Taenia tapeworm, but the main one that infects cats is Taenia taeniaeformis. Your cat can catch them through hunting, or through eating raw or undercooked meat. Like Dipylidium caninum, they grow in the gut and shed small white segments in the stools.

Can Humans Get Tapeworms From Cats?
Humans can catch tapeworm infections from cats, but thankfully this is rare. However, certain types of tapeworm infection in humans can be life-threatening, so it is important to be aware of the risks.
- Dipylidium caninum
You cannot catch Dipylidium caninum directly from your cat. However, if your cat is carrying infected fleas, then you can develop worms if you accidentally swallow one of the fleas. Thankfully, this is rare—it seems to happen more commonly with children, perhaps because they are much more prone to putting things in their mouths!
Humans will show the same symptoms as cats, with white segments passed in the stool or found around the bottom. They may also get itchiness around the bottom. These infections are usually not serious and are easily treated, but if you suspect you may have a tapeworm, you should speak to your family doctor.
- Echinococcus species
Humans can become infected with both E. Granulosus and E. Multilocularis from the stools of infected cats, and both can cause serious illness. These worms do not live in the gut in humans but instead go to the liver, lungs, or other organs. They will form cysts (fluid-filled swellings) that slowly grow over time. These infections can be life-threatening and are often difficult to treat.
Scientists believe that cats may be able to pass Echinococcus infections to humans, but studies have not yet conclusively shown a link. However, these kinds of cases seem to be very rare. People at the highest risk are likely to be young children, seniors, or those who have suppressed immune systems (for example, from chemotherapy).
- Taenia taeniaeformis
There are rare reports of Taenia taeniaeformis infecting humans, but it is not considered to be a significant problem.

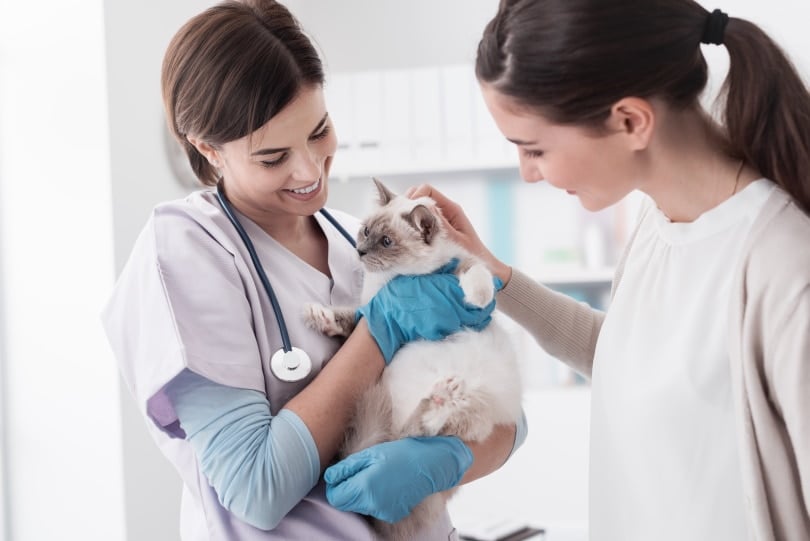
What Should I Do if I Think I Have a Tapeworm Infection?
If you are showing any of these symptoms, or are concerned for any other reason, then you should contact your doctor for further advice.

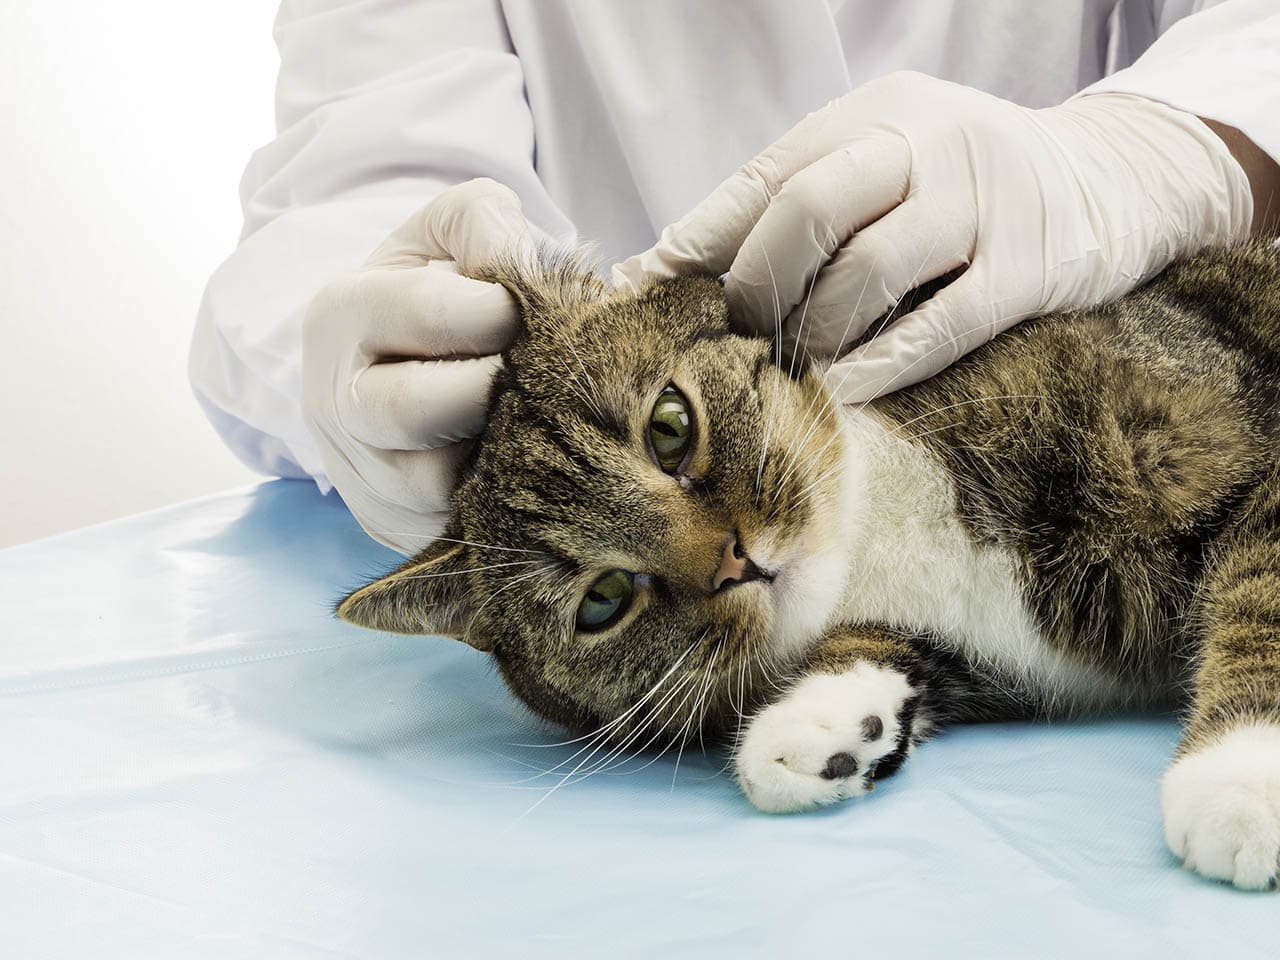
How Can I Prevent My Cat From Getting Tapeworm?
No treatment or lifestyle change is one hundred percent effective at preventing tapeworms, but we can reduce the risks of our cats catching them, and treat them regularly to try and kill any worms they do catch before they are passed on to other members of the family.
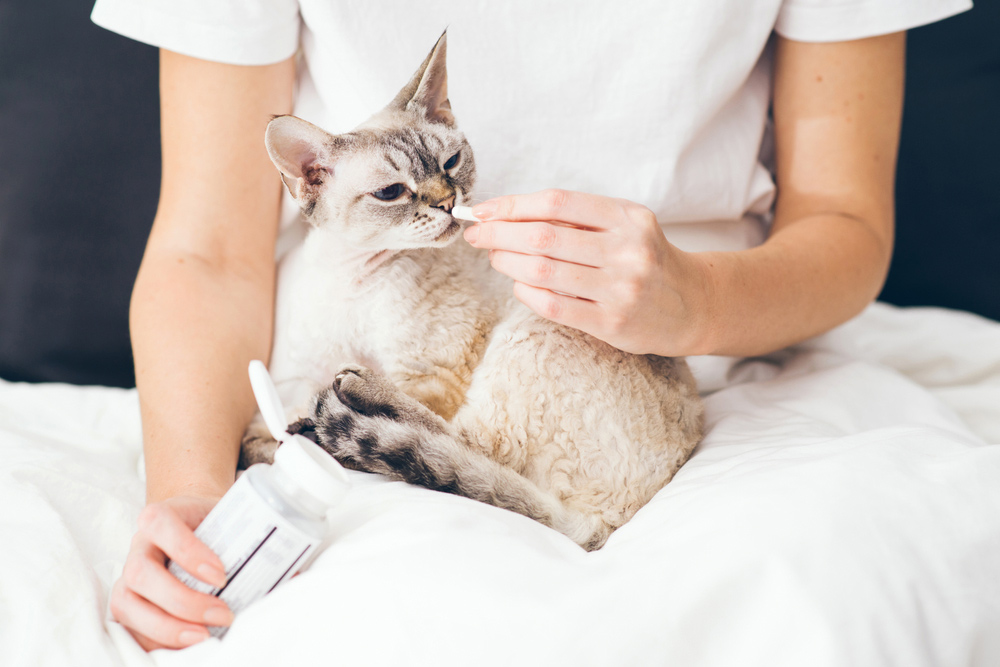
Deworm Them Regularly
Regular treatment with an effective deworming product will kill any tapeworms that your cat may have picked up. Not all treatments will kill tapeworms, so speak to your veterinarian to make sure you are using an effective treatment.
You will need to repeat this treatment at regular intervals. Your veterinarian can advise on how often you should be deworming your cat based on their lifestyle and risk factors.
“Natural” deworming options (such as pumpkin seeds, turmeric, or eggshells) are ineffective against tapeworms and are not recommended.
Treat Them for Fleas
As Dipylidium caninum is spread by fleas, you should keep your cat up-to-date with preventative treatment to reduce their risk of catching them. However, cats can still end up eating fleas before they are killed by the preventative, so they will still need deworming.
Avoid Contact with Wildlife
Cats who hunt, or who have contact with other wildlife, are at a much higher risk of contracting tapeworm than those who do not. An indoor-only lifestyle, or outdoor access via an enclosed garden or “catio,” will reduce the risk of your cat catching many types of parasites, including tapeworm.
If your cat does have free outdoor access, wearing a bell may reduce the amount of prey they catch.
Avoid Feeding Raw Meat
Raw food diets are currently trendy, but uncooked meat brings a much higher risk of catching parasites such as tapeworms. If you do feed your cat raw food, make sure they are wormed frequently, even if they have a 100% indoor lifestyle.

Conclusion
While it’s rare, humans can get tapeworms from cats. However, making sure your cat is dewormed regularly can help prevent this. Keeping your cat indoors and away from wildlife, plus avoiding raw meat can also help prevent these pests.
Featured Image Credit: Xseon, Shutterstock


